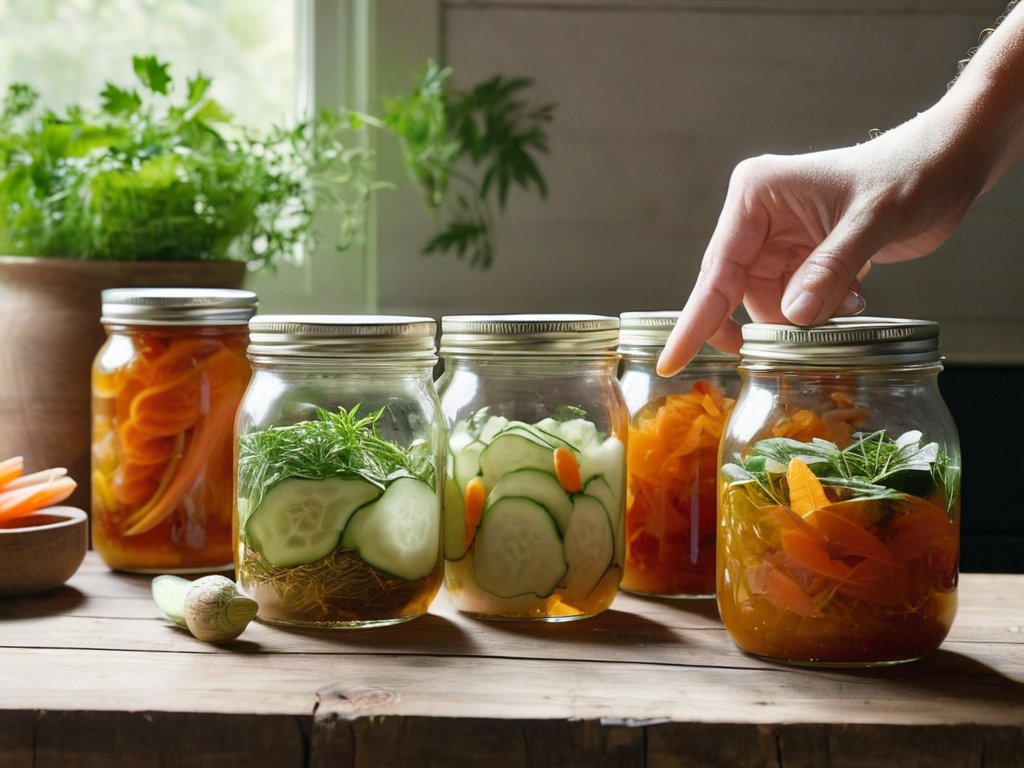
The first time I lifted the heavy ceramic jar from a bustling market stall in Oaxaca, the scent of tangy, bubbling liquid hit me like a reminder that food can speak across borders. I had just heard locals swear that fermentation is a mysterious alchemy reserved for seasoned monks, and I laughed, thinking the basics of fermentation were nothing more than a pinch of salt and a warm corner. Yet, as the lid clanged shut and the mixture began to fizz, I realized the truth: you don’t need a laboratory or a lineage of secret recipes—just curiosity, patience, and a few humble ingredients.
In the next few minutes I’ll walk you through the step‑by‑step roadmap that turned that jar into a living lesson, demystifying temperature, salt ratios, and the invisible microbes that do the heavy lifting. You’ll learn how to read the bubbles, troubleshoot common hiccups, and finish with three simple starter projects—kimchi, kefir, and a rustic sourdough starter—so you can taste the results within days. No‑hype, no‑frills, just honest guidance that respects the science while honoring the cultural stories behind every culture’s fermented treasure.
Table of Contents
- Project Overview
- Step-by-Step Instructions
- Exploring the Basics of Fermentation Stories That Connect Cultures
- Fermentation Safety Tips and Temperature Guide for Beginners
- How to Start Fermenting at Home First Steps
- Fermentation Fundamentals: 5 Essential Tips for Beginners
- Key Takeaways
- Fermentation: The Bridge Between Microbes and Cultures
- Wrapping Up the Fermentation Journey
- Frequently Asked Questions
Project Overview
Total Time: 1-2 weeks (including fermentation and preparation time)
Estimated Cost: $20 – $40
Difficulty Level: Easy
Tools Required
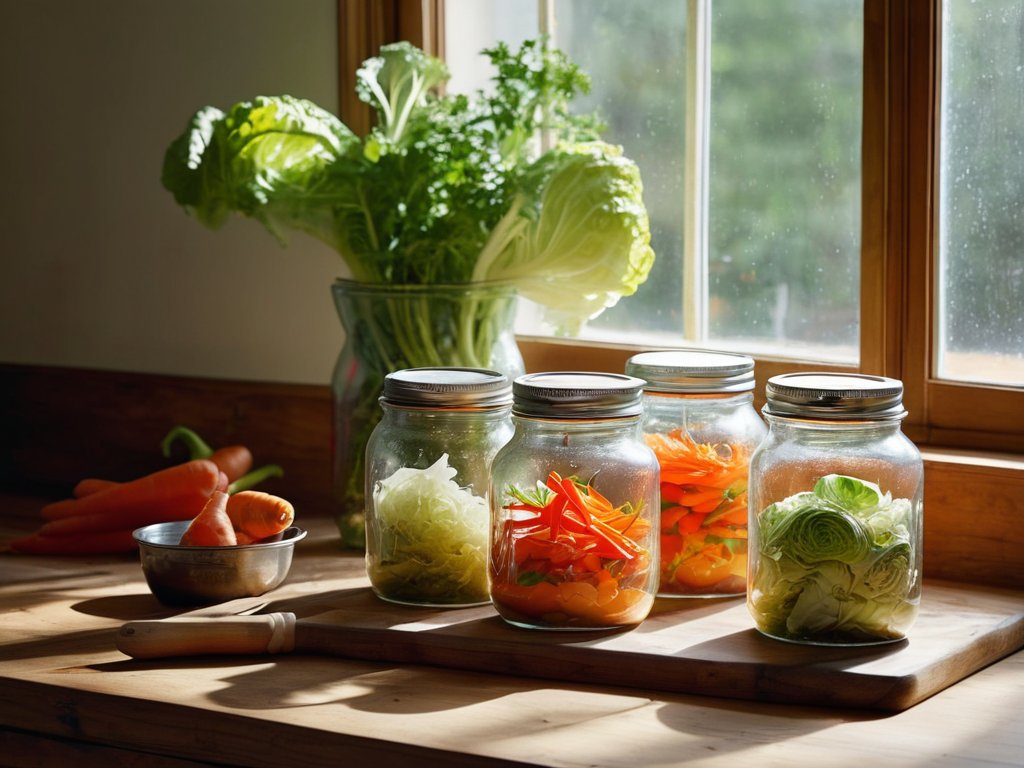
- Fermentation jars or wide-mouth glass containers (Preferably with a capacity of 1 to 2 liters)
- Airlock or fermentation lid (Allows gases to escape while preventing contamination)
- Kitchen scale (For precise measurement of ingredients)
- Thermometer (To monitor ambient temperature (ideally 65-75°F))
- Funnel (Helps transfer liquids without spilling)
- Spatula or wooden spoon (For mixing and packing)
- Clean cloth or cheesecloth (To cover jars when using a simple lid)
Supplies & Materials
- Fresh vegetables or fruit (e.g., cabbage, carrots, cucumbers, apples)
- Non-iodized salt (Kosher or sea salt for brining)
- Sugar or honey (optional) (Feeds yeast for certain ferments)
- Starter culture (optional) (Whey, kefir grains, or commercial starter)
- Water (Preferably filtered or dechlorinated)
Step-by-Step Instructions
- 1. First, I gather my tools and ingredients – a clean, non‑reactive jar (the kind I once spotted in a remote market in Oaxaca), a weight or fermentation lid, fresh produce or grains, and a reliable source of salt. I always double‑check that everything is spotless; even a speck of unwanted microbes can throw the whole process off, so cleanliness is my non‑negotiable first rule.
- 2. Next, I prep the substrate by washing, trimming, and, if needed, shredding the vegetables or soaking the grains. A quick sprinkle of salt (about 2 % of the total weight) not only seasons the mix but also draws out moisture, creating a natural brine that will become the home for friendly bacteria. I like to watch the liquid gather, reminding me of the tides I observed on a coastal village in Kerala.
- 3. Now I coax the brine to the right concentration – if the natural juices aren’t enough, I dissolve extra salt in filtered water at a ratio of 1 %–2 % (roughly one tablespoon per cup of water). I pour this over the substrate until everything is just submerged, because the microbes I’m inviting thrive only when they’re fully covered and away from oxygen.
- 4. Then I pack the mixture tightly into my glass jar, pressing down with a wooden spoon or a clean stone to eliminate air pockets. I place a fermentation weight or a small zip‑lock bag filled with water on top, then seal the lid loosely or fit an airlock. The goal is to keep the environment anaerobic while still allowing gases to escape, much like the sealed chambers I once saw in a Tibetan monastery’s tea cellar.
- 5. After that, I set the jar to ferment in a cool, dark spot where the temperature stays between 18 °C and 22 °C (65‑72 °F). I keep an eye on the clock and the bubbles, noting how the aromas evolve – a reminder of the countless kitchens I’ve visited from Marrakech to Melbourne. Patience is key; most ferments need 2‑7 days before they reach that perfect balance of tang and depth.
- 6. Finally, I taste, adjust, and store. When the flavor sings to me – bright, slightly sour, with a hint of umami – I transfer the jar to the refrigerator. The cold slows the activity, preserving the creation for weeks or even months. I label the jar with the date and a little doodle of the globe I’m currently dreaming about, because every batch is a tiny passport to another culture.
Exploring the Basics of Fermentation Stories That Connect Cultures
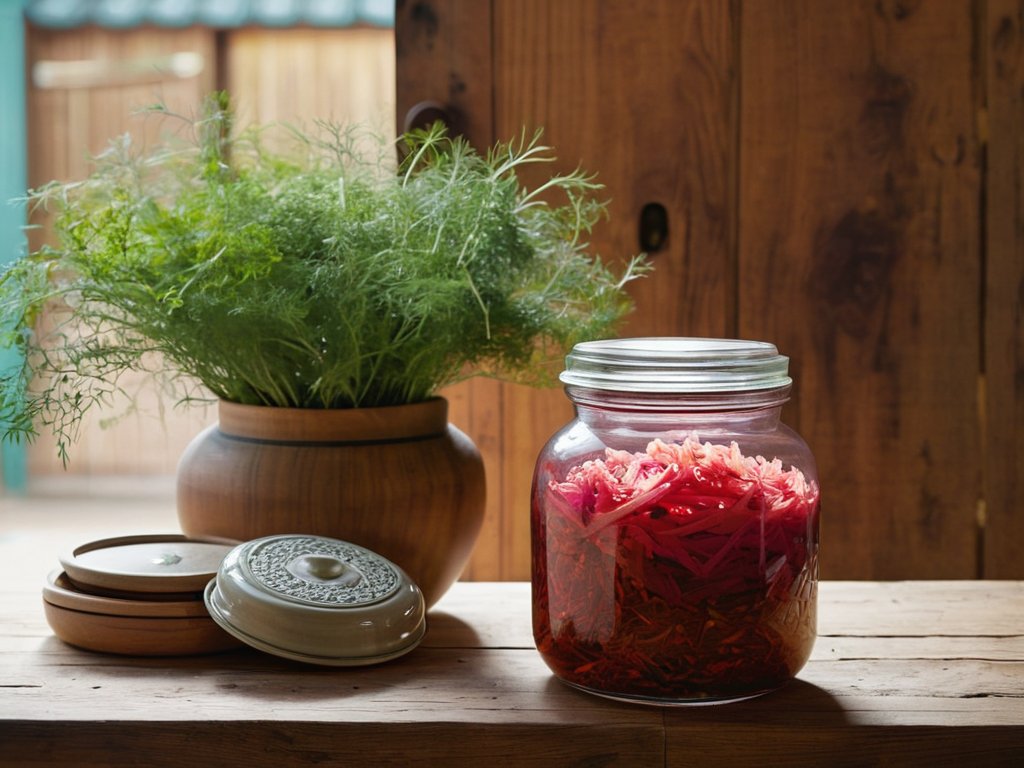
When I first tried how to start fermenting at home in a tiny kitchen in Oaxaca, I quickly learned that the process is as much a conversation with the past as it is a culinary experiment. A handful of sea‑salted cabbage, a pinch of wild lactic‑acid bacteria from a neighbor’s garden, and a simple jar become a bridge to the centuries‑old kimchi stalls of Seoul or the tangy sauerkraut cellars of Berlin. The benefits of fermented vegetables—from gut‑friendly probiotics to a burst of vitamin C—are universal, yet each culture adds its own spice, herb, or story, turning a basic staple into a passport of taste.
Later, while brewing kombucha in a sun‑lit flat in Marseille, I paid close attention to the fermentation temperature guide: 24‑27 °C (75‑81 °F) keeps the SCOBY happy and the brew lively. A few fermentation safety tips—always keep utensils clean, watch for off‑odors, and respect the fermentation timeline for kombucha (typically 7‑14 days for a bright, slightly tart sip)—prevent mishaps and honor the ritual that tea masters in Taiwan have refined for generations. Each bubble, then, is a reminder that science and story ferment together, wherever we set the jar down.
Fermentation Safety Tips and Temperature Guide for Beginners
Back when I first tried fermenting cabbage in a sun‑warmed kitchen in the highlands of Oaxaca, the room lingered at a gentle 68°F (20°C) – the sweet spot my grandmother swore by. For beginners, aim for 60‑75°F (15‑24°C) depending on the culture; it’s warm enough for microbes to thrive without spiralling into off‑flavors. A cheap digital probe slipped into the jar lets you monitor the temperature, and a quick dip in ice water can rescue a batch that creeps toward 80°F.
Safety is your compass. Start with sterilised jars, keep lids snug but allow gases to escape, and trust your senses: a pink film or sour smell signals trouble. A pH strip reading under 4.2 confirms acidity; above 4.6 means it’s time to start over. These simple checks protect both palate and gut, turning each bubbling jar into a miniature cultural exchange.
How to Start Fermenting at Home First Steps
When I first tried to coax kimchi out of a kitchen in Busan, the only tools needed were a sturdy glass jar, non‑iodized salt, and a willingness to trust the microbes. Start small: pick a recipe—cabbage sauerkraut, carrot kimchi, or a cucumber brine. Measure your salt (about 2 % of the vegetable weight), dissolve it in filtered water, and massage the brine into the cut veggies until they start to sweat.
Next, transfer the mass into your jar, pressing it down until the liquid fully covers the vegetables—any exposed bite invites spoilage. Seal the lid loosely, then tuck the jar into a cool, dark corner (around 18‑22 °C) and let nature work. Within 24–48 hours bubbles appear, the first whisper of fermentation; give it a shake and taste. If the crunch remains and the scent is pleasantly sour, you’re ready for the next batch.
Fermentation Fundamentals: 5 Essential Tips for Beginners
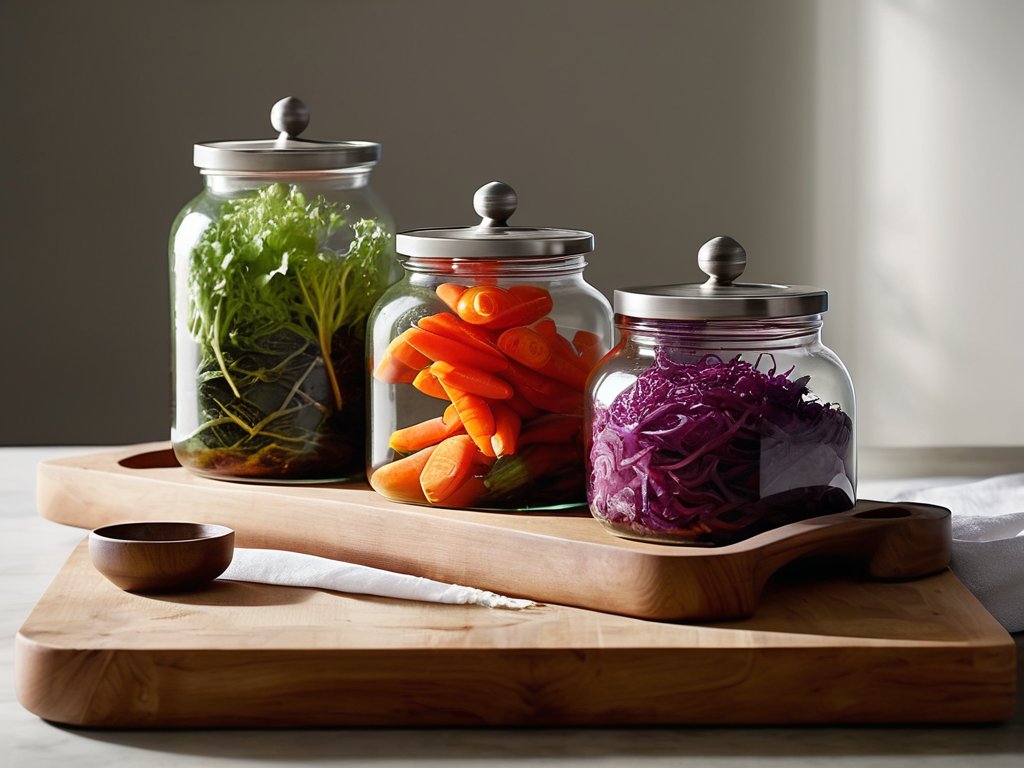
- Start with clean, non‑reactive vessels – I never trust a scratched glass jar.
- Control temperature: aim for 65‑75 °F (18‑24 °C) for most veggies; a simple kitchen thermometer is your best ally.
- Use the right amount of salt (2‑3 % by weight) to create a brine that encourages friendly bacteria while keeping spoilage at bay.
- Give microbes time: let the jars sit undisturbed for at least 3‑5 days before tasting, and trust the subtle changes.
- Trust your senses – a pleasant sour aroma and a crisp crunch signal success; any off‑odors mean it’s time to discard.
Key Takeaways
Fermentation is a living, cultural bridge—tiny microbes transform simple ingredients into flavors that tell stories across continents, so every batch you make connects you to a global tradition.
Start small, stay safe: begin with forgiving recipes like sauerkraut or yogurt, keep everything clean, monitor temperature (ideally 65‑75°F for most veg fermentations), and trust your senses to spot off‑odors or mold.
Patience rewards flavor: most fermentations need days to weeks to develop depth, so resist the urge to rush, experiment with timing, and record each variable to refine your personal terroir of taste.
Fermentation: The Bridge Between Microbes and Cultures
In the humble act of coaxing microbes to transform food, we discover a universal language—one that whispers how societies preserve, celebrate, and share their very essence across continents.
Alexandra Thompson
Wrapping Up the Fermentation Journey
Looking back on the journey we’ve taken through the world of microbes, a few takeaways stand out. We learned that fermentation basics hinge on three simple pillars: a friendly culture of bacteria or yeast, a hospitable environment, and a little patience. From the crisp tang of homemade sauerkraut to the effervescent fizz of kombucha, the step‑by‑step guide showed how to assemble the right ingredients, set up a clean jar, and monitor temperature—usually between 65°F and 78°F—for optimal activity. We also unpacked the safety checklist: keep everything scrubbed, watch for off‑colours, and trust your senses before the first sip. Armed with these tools, anyone can turn a kitchen shelf into a miniature laboratory of flavor.
Yet the real magic of fermentation lies not just in bubbles or brine, but in the conversations it sparks across continents. I remember swapping a jar of kimchi with a family in Busan while they taught me the rhythm of their market stalls, and later, sharing a batch of kefir with a fellow traveler in a remote Icelandic farmstead, discovering that the same microbes have been shaping meals for millennia. When we nurture these tiny ecosystems at home, we also nurture a shared heritage that stretches from Silk Road to the Pacific. So I invite you—pick up that vintage globe, open a jar, and let world ferment within you.
Frequently Asked Questions
What temperature range is ideal for different types of ferments?
I’ve learned that the “sweet spot” for each ferment is almost like a climate zone you’d find on one of my vintage globes. For quick lacto‑ferments—think sauerkraut or kimchi—keep it between 65‑72 °F (18‑22 °C) so the good bacteria thrive without inviting spoilage. Kombucha and kefir like a bit more warmth, around 75‑85 °F (24‑29 °C). Yogurt needs the heat of a sunny kitchen, roughly 110‑115 °F (43‑46 °C), while sourdough starters are happiest at 70‑78 °F (21‑26 °C). If you’re brining pickles, a cooler 50‑68 °F (10‑20 °C) slows the process and deepens flavor. Adjusting the thermostat—or a simple insulated box—can turn a modest jar into a cultural conversation.
How long should I let my homemade sauerkraut ferment before it's ready to eat?
I usually let my homemade sauerkraut ferment at room temperature—around 65‑70 °F (18‑21 °C)—for about one to four weeks. The first week is the most active, when bubbles surge and the cabbage softens. After that, I taste it every few days; when the tangy, slightly crunchy flavor feels balanced to your liking, it’s ready. If you prefer a milder bite, stop at two weeks; for deeper sourness, let it linger up to a month.
Do I need special equipment or can I use everyday kitchen items for fermentation?
I’ve found that the kitchen itself is often the best starter lab. A clean glass jar, a ceramic crock or even a sturdy mason‑style bottle works perfectly for most veggies, dairy or grain ferments. All you really need is something non‑reactive, a tight‑fitting lid (or a cloth and rubber band for gases to escape), and a weight to keep the food submerged. A thermometer, a few fermentation‑grade airlocks, or a dedicated fermentation crock can help fine‑tune temperature and safety, but they’re nice‑to‑haves—not necessities. In short: your pantry staples will get you fermenting; the extra gear just makes the process smoother.