The brine was already bubbling when I realized I’d left the cabbage out a minute too long, and the sharp, salty perfume of my first attempt at homemade kimchi fermentation filled the flat I was sharing with an exchange student in Seoul. I could feel the tension between tradition and my own impatience, the way my diplomatic training taught me to listen before I act, now applied to a jar of cabbage and gochugaru. In that instant I learned that patience isn’t a rule—it’s a conversation with microbes.
Over the pages I’ll strip away hype and give you the no‑nonsense roadmap I followed from that nervous first batch to crunchy loaves that sit on my kitchen shelf alongside a globe from the 1970s. You’ll get a step‑by‑step guide to choosing the right napa cabbage, calibrating salt ratios, and timing the fermentation so flavors develop without turning the jar into a sour surprise. I’ll also share cultural anecdotes that turned a simple side dish into a bridge between my London‑born curiosity and the bustling markets of Busan, so your own homemade kimchi fermentation becomes a story you can serve.
Table of Contents
- Recipe Instructions
- Homemade Kimchi Fermentation Vegetarian Kimchi Recipe and How to Store Ferm
- Best Salt for Kimchi Brine Kimchi Fermentation Jars Kimchi Starter Culture
- Traditional Korean Kimchi Fermentation Time and Temperature Guide
- What to Remember When Fermenting Your Own Kimchi
- Fermenting Connections
- Wrapping Up the Fermentation Journey
- Frequently Asked Questions
Recipe Details
Ingredients
- 1 large Napa cabbage (about 2 lb) cut into 2‑inch pieces
- 1/4 cup kosher salt for the brine
- 1 Korean radish (½ lb) julienned
- 4 green onions cut into 1‑inch pieces
- 4 cloves garlic minced
- 1 inch piece ginger grated
- 2 tbsp Korean red pepper flakes (gochugaru) adjust heat to taste
- 2 tbsp fish sauce or soy sauce for a vegan version
- 1 tsp sugar helps balance the flavor
- Optional: 1 small carrot julienned for extra crunch
Tools & Supplies
- Large mixing bowl
- Colander
- Cutting board and sharp knife
- Gloves (to protect hands from the spice)
- Fermentation jar or crock (2‑liter capacity)
- Weight or clean stone to keep kimchi submerged
- Air‑tight lid or cloth cover
Recipe Instructions
Step 1
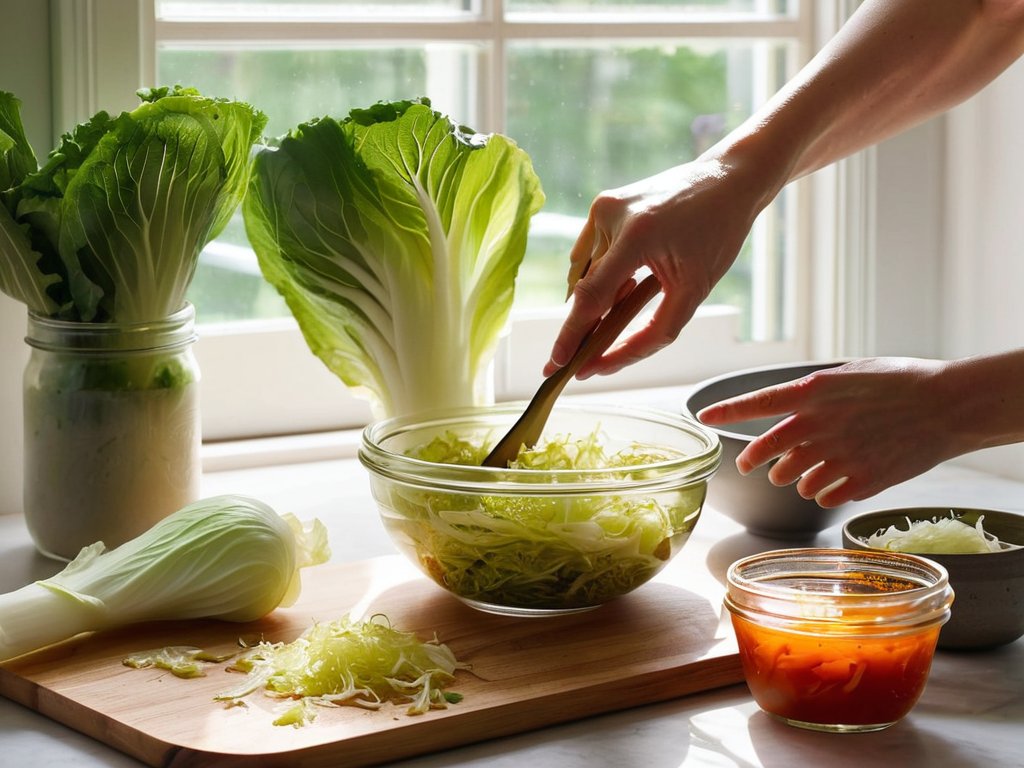
I begin by choosing the right cabbage – a sturdy Napa or Baechu works best because its thick leaves hold the brine. I slice the heads into quarters, rinse them under cold water, and then soak each piece in a salty bath (about 2 % kosher salt) for 2 hours, turning them occasionally so the seasoning penetrates evenly.
Step 2
While the cabbage rests, I prepare the spice paste: I blend Korean red pepper flakes (gochugaru), minced garlic, ginger, a splash of fish sauce, and a touch of sugar. To make the paste silky, I add a small cup of filtered water and grind everything in a mortar until it releases a fragrant, ruby‑red aroma that reminds me of bustling Seoul night markets.
Step 3
After the cabbage has softened, I rinse it thoroughly in cold water to wash away excess salt, then gently squeeze out the moisture with clean hands. I spread the leaves on a large tray, layering them with thinly sliced Korean radish and spring onions, and I massage the spice paste into every crevice, ensuring each leaf is coated like a story waiting to be told.
Step 4
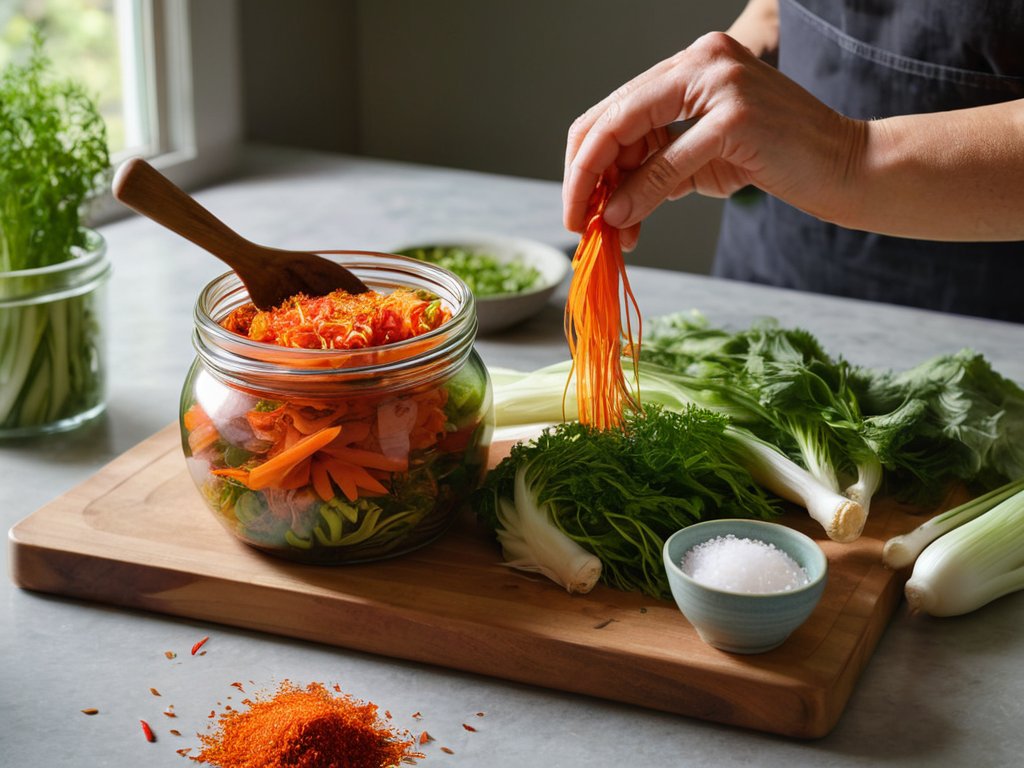
I pack the seasoned cabbage tightly into a clean, wide‑mouth glass jar, pressing down with a wooden pestle so the vegetables sit just below the surface. I pour the leftover brine from the initial soak over the top, then add a little extra filtered water if needed, leaving about 1 inch of headspace to accommodate bubbling during fermentation.
Step 5
To keep the kimchi anaerobic, I seal the jar with a fermentation lid or a simple cloth secured with a rubber band, allowing gases to escape while preventing air from entering. I store the jar at room temperature (around 20 °C/68 °F) for the first 24 hours, then move it to a cooler spot (like a pantry or a cellar) for 3–5 days, checking daily for bubbles and a sour scent that signals the start of fermentation.
Step 6
Once the flavor reaches the tangy balance I enjoy – usually after 5 days in a cool environment – I transfer the jar to the refrigerator. The cold slows the process, letting the kimchi mature slowly; I find that after another week the depth of flavor deepens, making each bite a reminder of the journey from my kitchen to the streets of Busan.
Step 7
Finally, I serve the kimchi alongside rice, noodles, or as a crunchy topping for tacos, sharing the fermented bounty with friends and family. Each spoonful carries a piece of history, a dash of spice, and the quiet patience of fermentation – a reminder that good things often need time to evolve.
Homemade Kimchi Fermentation Vegetarian Kimchi Recipe and How to Store Ferm
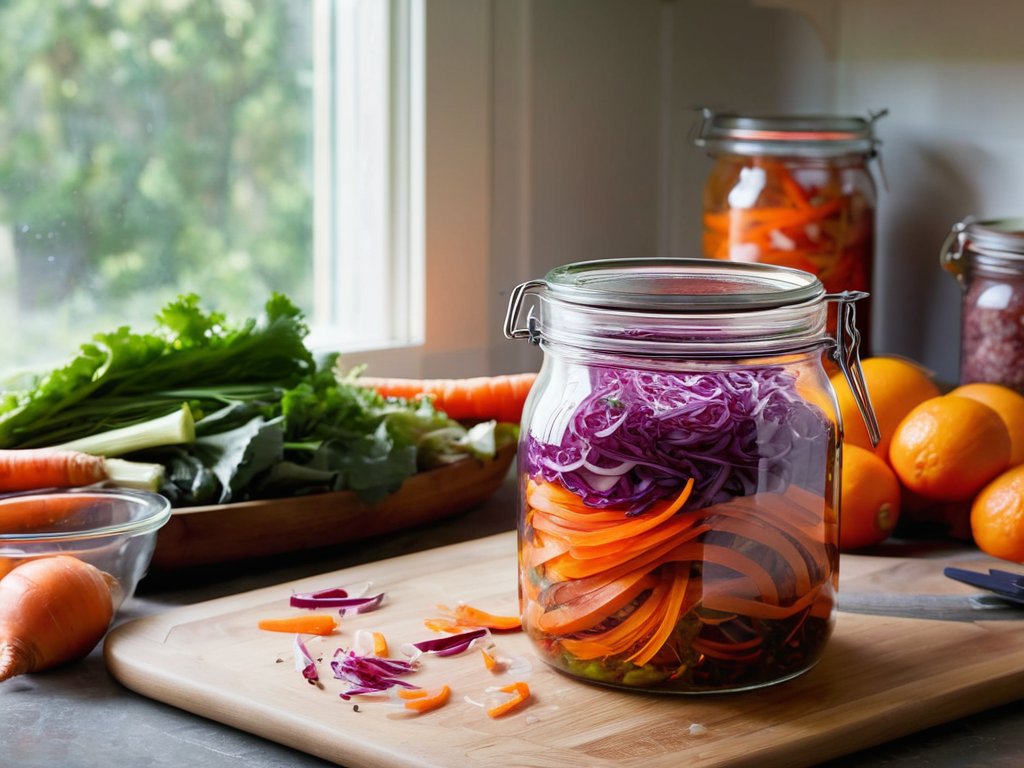
When I first tried a vegetarian kimchi recipe, I was surprised how the same depth of flavor can emerge without the anchovy‑based jeotgal. The secret often lies in the traditional Korean kimchi fermentation time—2 to 5 days at room temperature, then a slower maturation in the refrigerator. Keeping the brine around 18 °C follows the classic kimchi fermentation temperature guide and lets the lactic‑acid bacteria work their magic. I also favor sea salt with low iodine as the best salt for kimchi brine; its clean mineral profile lets the vegetables shine while providing the osmotic pressure needed for a crisp crunch.
Once the crunch has softened to your liking, the next question becomes how to store fermented kimchi so its tangy vigor lasts. I favour wide‑mouth, airtight kimchi fermentation jars that let you press the veggies down with a clean stone, eliminating air pockets. A splash of whey from a previous batch works as a kimchi starter culture alternative, jump‑starting the acidity. Keep the sealed jar in the coldest part of the fridge—around 4 °C—and let it mature for a month before using it in stews or as a quick bite.
Best Salt for Kimchi Brine Kimchi Fermentation Jars Kimchi Starter Culture
When I first tried fermenting kimchi in a stone‑ware jar I’d bought at a tiny market in Busan, I learned that the salt you choose is as much a cultural decision as a culinary one. I now swear by unrefined, sea‑salt crystals—ideally a Korean hae‑sog that still retains trace minerals. The slight brine bitterness they lend balances the heat of gochugaru and keeps the lactic‑acid bacteria thriving. For those without access to Korean salt, a good quality Celtic sea salt or even a lightly iodine‑free kosher salt works, but I avoid the fine‑grained table varieties that dissolve too quickly and can stunt the fermentation.
As for vessels, I rotate between three trusty companions: a traditional onggi (earthenware) that breathes through its porous walls, a wide‑mouth, food‑grade glass jar with a silicone seal, and a stainless‑steel fermenter with a water‑lock. Each imparts a subtle nuance—onggi adds earthy depth, glass shows the bubbling progress, and steel maintains a steady temperature. If you’re short on starters, the wild‑flora on a handful of daikon radish or a splash of previously fermented kimchi (the “mother” culture) can jump‑start the process, letting the local microbes do the heavy lifting.
Traditional Korean Kimchi Fermentation Time and Temperature Guide
Back when I spent a winter in Gyeongju, my host mother taught me that kimchi’s soul is shaped not just by the spices but by the rhythm of the cold. In a traditional onggi jar, the cabbage sits at 4‑7 °C (39‑45 °F) for the first 12‑24 hours, allowing the lactic‑acid bacteria to awaken without turning the mixture mushy. After that initial burst, the jars are moved to a slightly warmer cellar, around 10‑15 °C (50‑59 °F), where fermentation continues for three to five days, depending on the desired tang. If you prefer a deeper, almost cheese‑like depth, you can extend the second stage to ten days, checking daily for aroma and texture. Once the flavor hits that perfect balance of sour, spicy, and umami, I transfer the kimchi to the refrigerator, where the cold slows the microbes and the taste matures gracefully for weeks.
What to Remember When Fermenting Your Own Kimchi
Patience and temperature are your allies: aim for 18‑22 °C for the first 2‑3 days, then move to a cooler spot (10‑12 °C) to let flavors deepen over 1‑2 weeks.
A good brine starts with the right salt: use non‑iodized sea salt or Korean sea salt (saeu‑sogeum) at 2‑3 % of the vegetable weight for crisp, balanced fermentation.
Flexibility fuels creativity: you can swap traditional fish sauce for fermented soy paste or kelp water, and any wide‑mouth, air‑tight jar will do—just keep the veggies submerged.
Fermenting Connections
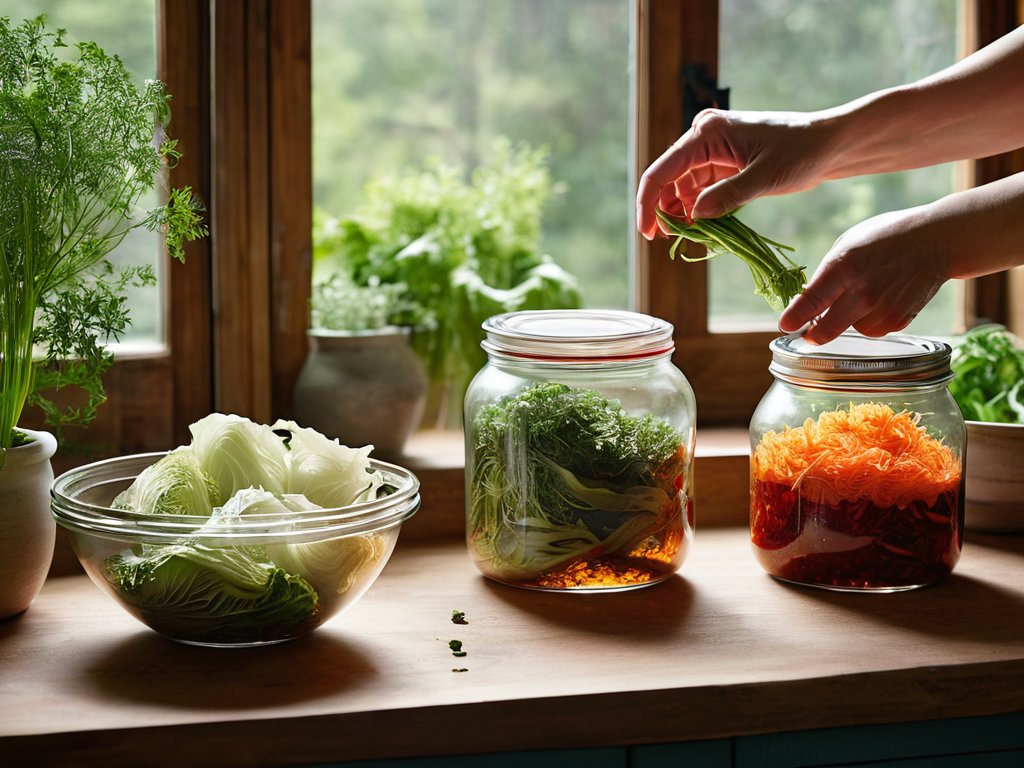
Each jar of homemade kimchi is a tiny diplomatic mission—salt, spice, and time coaxing invisible allies to turn humble cabbage into a story that travels from my kitchen to the world, reminding us that patience and shared flavor are the true languages of peace.
Alexandra Thompson
Wrapping Up the Fermentation Journey
Looking back on the journey from a simple napa cabbage to a bubbling jar of tangy brine, I’m reminded how each decision shapes the bite. We explored the vegetarian kimchi recipe, choosing the right salt—coarse sea salt or light kosher—to coax the right crunch, and we mapped the classic Korean timeline: a cool 15‑18 °C for the first 24‑48 hours, then a slower 4‑10 °C phase that lets lactic bacteria develop depth. I highlighted the importance of a non‑reactive fermentation vessel, whether stoneware crocks or a modern glass jar, and offered starter‑culture alternatives for those without a mother. Finally, I showed how to store the finished product, from short‑term fridge life to long‑term cellar aging, ensuring every batch stays safe and flavorful.
Beyond the chemistry, fermenting kimchi feels like a quiet diplomatic mission in my kitchen, a way to invite the stories of Seoul’s bustling markets into my London flat or a Himalayan tea house. Each bubble is a reminder that cultures can coexist, ferment, and enrich one another when we give them space. I hope you’ll treat your jar as a passport—experiment with regional spices, share a spoonful with a neighbor, and let the aroma spark conversations about migration, memory, and resilience in our global kitchen. In the end, a simple bite of homemade kimchi can become a taste of unity that travels farther than any vintage globe on my shelf.
Frequently Asked Questions
Can I use a non‑traditional vegetable like carrots or daikon in my kimchi and still achieve proper fermentation?
Absolutely—you can invite carrots, daikon, even radish greens into your kimchi and still enjoy a lively fermentation. Both vegetables supply the crunchy texture I love, but they’re a bit more water‑rich than napa cabbage, so I up the salt‑to‑veg ratio by a tablespoon or two and give them a generous toss with the spice paste. Expect a slightly longer, cooler ferment (5‑7 days at 18 °C) for the tang to develop fully, and you’ll end up with a bright, probiotic‑rich side dish that still feels unmistakably kimchi.
How do I know if my kimchi has fermented enough – what signs of taste, aroma, or texture should I look for?
After a week or two at room temperature, I start checking the kimchi. If the crunch of the cabbage has softened enough to give a gentle give, that’s a good sign. The scent should shift from sharp, raw garlic and fish‑sauce punch to a subtle, tangy sourness with faint earthy undertones. On the palate, the heat mellows and a quiet, lactic‑acid brightness emerges—if the flavor is overly salty or raw, it needs a few more days.
Is it safe to ferment kimchi at room temperature in a warm climate, or should I always use a cooler spot or a fermentation crock?
I’ve learned that kimchi is forgiving, but in a warm climate the room‑temperature race can sprint past the sweet spot of 65‑75 °F (18‑24 °C). If your kitchen hums at 80 °F (27 °C) or higher, I’d shift the jars to a cooler nook—perhaps a pantry, basement, or a stoneware crock that insulates the heat. Start the bulk fermentation for 12‑24 hours, then taste; if it’s too sharp, move it to the fridge. A cooler environment slows unwanted mold and keeps the flavor journey safe and delicious.