I was crouched on a sun‑splashed balcony in a narrow Marrakech riad, the scent of cumin and mint swirling around me, when I realized the biggest mistake I’d ever made with growing culinary herbs was treating them like ornamental plants rather than kitchen companions. The tiny basil leaf that brushed my fingertips was stubbornly wilted, not because I lacked a green thumb, but because I’d been watering it on a strict schedule, ignoring the rhythm of the local climate. That moment taught me herbs thrive on listening to their own micro‑climate, not on textbook rules.
In the pages that follow I’ll strip away the diplomatic jargon and glossy myths to give you a roadmap for thriving herb gardens—whether you’re tending a windowsill in London, a rooftop in New Delhi, or a balcony in an Andean village. You’ll learn how to read soil moisture with your fingertips, match varieties to light they crave, harvest without killing plant, and preserve flavors for off‑season cooking. By the end, your kitchen will smell like a passport stamped with countless cuisines, and you’ll feel confident enough to share the harvest story at dinner.
Table of Contents
- Project Overview
- Step-by-Step Instructions
- Cultivating Connections Growing Culinary Herbs Across Seasons
- Companion Planting and Organic Pest Control for Flavorful Harvests
- Starting an Indoor Herb Garden Soil Secrets and Light
- Five Fresh Tips for Thriving Herb Gardens
- Key Takeaways
- Herbs: Small Borders, Big Stories
- Harvesting Connections: Your Herb Journey Comes Full Circle
- Frequently Asked Questions
Project Overview
Total Time: 2 hours
Estimated Cost: $30 – $60
Difficulty Level: Easy
Tools Required
- Garden Trowel ((for planting seeds))
- Watering Can ((with a fine rose))
- Pruning Shears ((for harvesting))
- Hand Fork ((optional, for loosening soil))
- Measuring Cup ((for measuring soil and water))
- Gloves ((optional, for protection))
- Label Tags ((to mark herb varieties))
Supplies & Materials
- Herb Seeds or Seedlings (e.g., basil, parsley, thyme, rosemary, cilantro)
- Potting Soil (well‑draining, organic)
- Containers or Planters (6 inches deep, with drainage holes)
- Mulch (e.g., shredded bark or straw)
- Fertilizer (balanced, slow‑release)
- Plant Markers (or reusable chalkboard labels)
Step-by-Step Instructions
- 1. First, I scout a sunny nook—whether it’s a balcony railing in London or a breezy windowsill in New Delhi—because most culinary herbs crave at least six hours of direct light each day. I measure the space, note the direction the sun hits, and clear any clutter that could cast shadows, setting the stage for a thriving herb garden.
- 2. Next, I prepare a well‑draining mix by combining equal parts potting compost, coconut coir, and a handful of perlite; this blend mimics the loose soils I encountered on my travels in the Mediterranean. I lightly moisten the substrate, feeling the texture between my fingers, and then I fill each pot to about an inch below the rim, leaving room for the seedlings to grow.
- 3. With the soil ready, I sow the seeds—basil, mint, cilantro, thyme, and rosemary—spacing them according to the packets, usually a pinch per pot for the smaller varieties and a thin line for the larger ones. I cover them with a thin veil of soil, pat it down gently, and sprinkle a whisper of water using a misting bottle to keep the seeds from being displaced.
- 4. After planting, I create a micro‑climate by covering the pots with clear plastic or a DIY greenhouse lid for the first week; this traps humidity and encourages germination. I place the covered trays on a warm windowsill, checking daily to ensure the soil stays moist but not soggy, and I ventilate briefly each morning to prevent mold.
- 5. Once the seedlings push through, I remove the cover and begin a routine of watering at the base of each plant with a narrow‑spouted can, avoiding wetting the leaves to reduce the risk of fungal spots. I rotate the pots weekly so every side receives equal sunlight, and I start feeding them with a diluted, organic liquid fertilizer once every two weeks to boost flavor.
- 6. Finally, I harvest mindfully: I snip the top third of each plant with clean scissors, always leaving enough foliage for the herb to keep growing. I wash the cuttings in cool water, pat them dry with a soft cloth, and store them in a glass jar with a splash of olive oil or a damp paper towel in the fridge, preserving the fresh aroma that reminds me of distant markets and family kitchens.
Cultivating Connections Growing Culinary Herbs Across Seasons
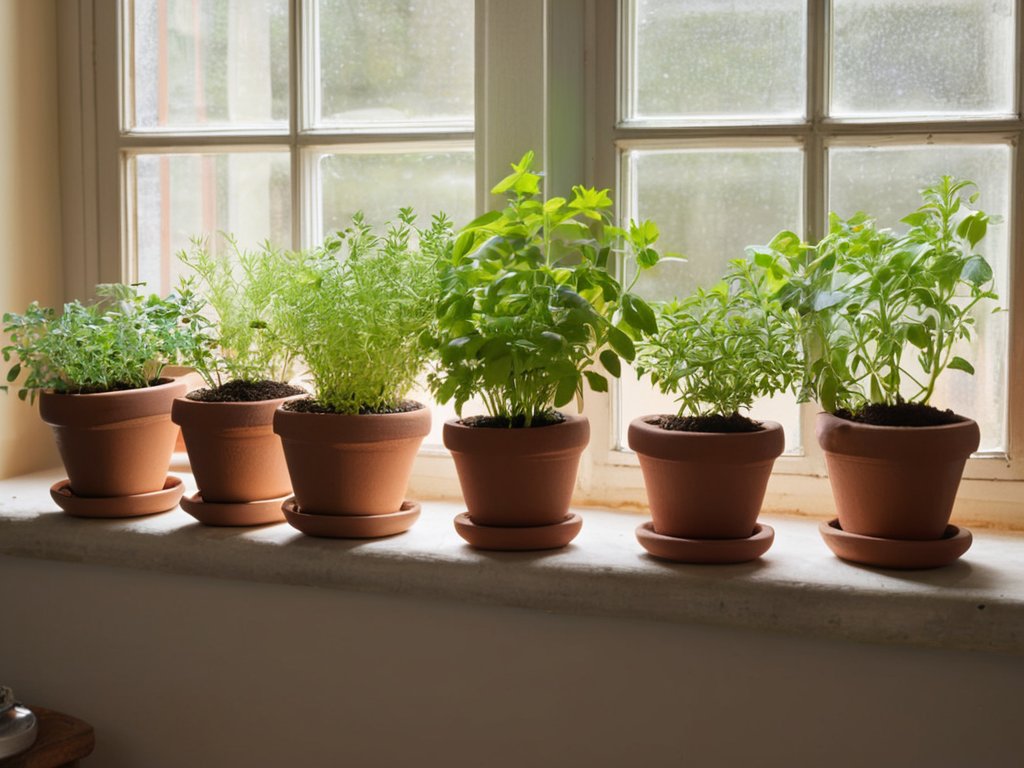
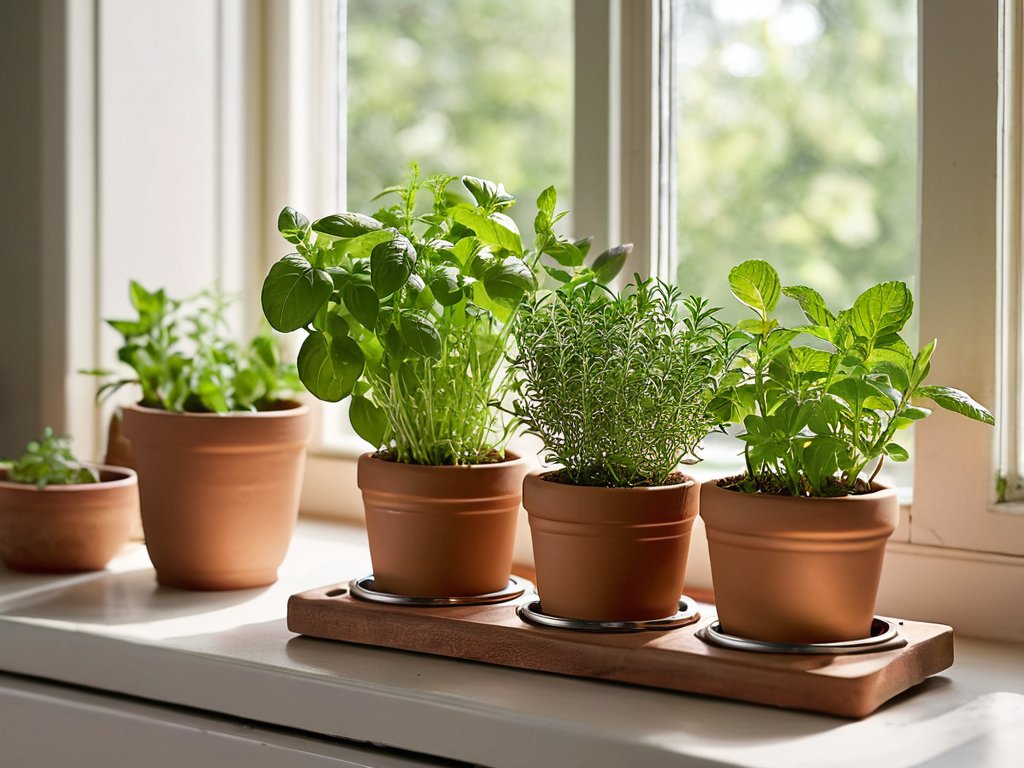
Whenever I return from a remote village where the scent of fresh cilantro drifts from kitchen windows, I think about how to start an indoor herb garden that feels alive. I begin with a well‑draining, organic blend—a mix of peat, perlite and a handful of aged compost—to mimic the loamy soils I admired in the Andean terraces. Small, repurposed terracotta pots work wonders; I line them on my windowsill, arranging them like a miniature marketplace. The key is to give each plant its own breathing room, and the light from a south‑facing window becomes the silent negotiator between root and leaf.
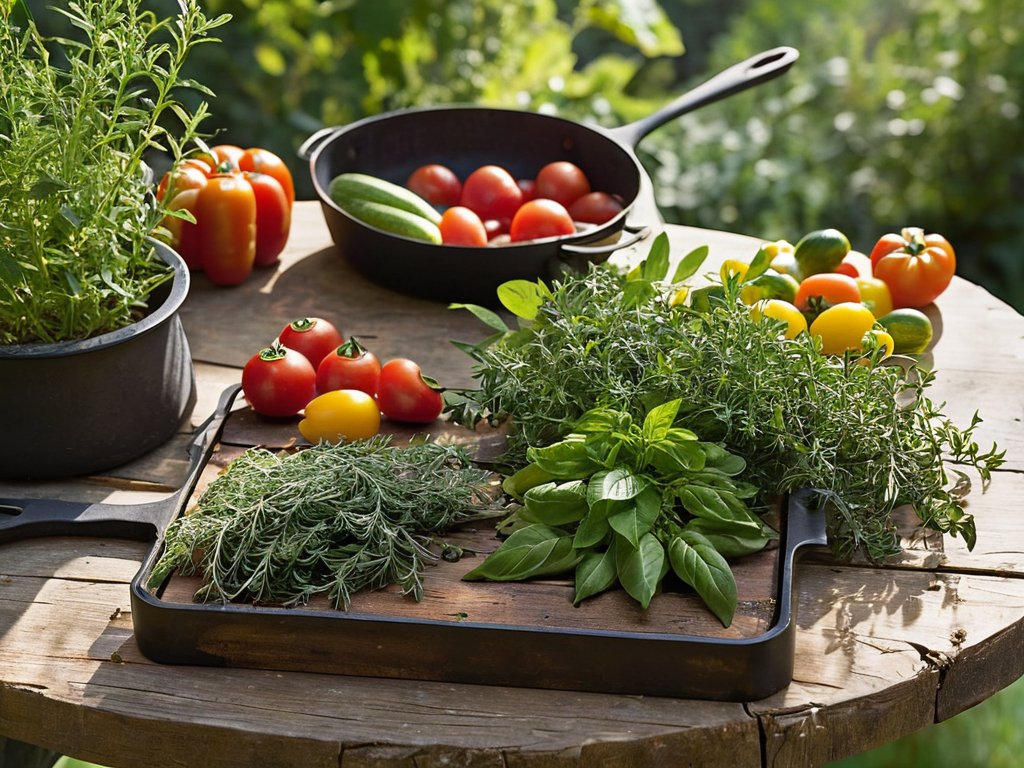
Later I pair basil with cherry tomatoes, a simple example of companion planting herbs for vegetables that deters aphids and adds aroma. When the leaves turn glossy, I practice harvesting herbs for maximum flavor by snipping just before bloom, preserving their oils. A sprinkle of neem powder or a dash of garlic‑infused water serves as organic pest control for herb gardens. When winter arrives, I move the pots onto a sunny balcony, embracing year‑round herb growing techniques that keep the kitchen scented all year.
Companion Planting and Organic Pest Control for Flavorful Harvests
When I was staying with a family of farmers in the hills of Oaxaca, I learned that a handful of rosemary tucked beside a pot of chilies does more than perfume the air—it deters the tiny beetles that love to nibble on tender leaves. In my own windowsill garden, I now pair basil with tomatoes, letting the basil’s strong scent act as a natural shield while the tomato’s shade keeps the basil’s roots cool. Marigolds, with their sunny orange blooms, are the unsung guardians of cilantro and parsley, repelling nematodes that would otherwise turn a harvest into a disappointment.
For those who prefer a chemical‑free approach, I swear by a simple garlic‑chili spray: blend two cloves of garlic, a small red pepper, a teaspoon of liquid soap, and dilute with a liter of water. A mist every ten days keeps aphids at bay without dulling the herbs’ aromatic punch, ensuring every pinch you harvest carries the pure, unmasked flavor of the garden.
Starting an Indoor Herb Garden Soil Secrets and Light
I’ve found that the heart of an indoor herb garden beats in the soil you choose—think of it as a miniature terroir that can transport you from a rooftop garden in Marrakech to a windowsill in Kyoto. I start with a light, well‑draining mix: two parts organic potting compost, one part coarse sand or perlite, and a generous pinch of coconut coir for moisture‑retention. Adding a teaspoon of worm castings per litre gives the microbes a welcome passport to break down nutrients, and a dash of crushed basalt rock whispers of the volcanic soils that once nurtured basil in Italy. Light, of course, is the sun‑ticket every herb needs. I position my trays where they receive at least six bright, indirect hours—often a south‑facing window that catches the morning sun while shielding the leaves from harsh noon glare. When daylight is shy, a 12‑hour LED grow light set to a cool‑white spectrum mimics the soft glow of a Mediterranean afternoon, coaxing each leaf to unfurl with confidence.
Five Fresh Tips for Thriving Herb Gardens
- Harvest regularly to encourage bushier growth—snip just above a leaf node and let the plant bounce back.
- Rotate your herbs every few weeks to ensure even light exposure and prevent one-sided stretching.
- Use a light, well‑draining mix—think a blend of peat, perlite, and a pinch of compost for nutrient balance.
- Group herbs with similar water needs together; basil loves moisture while rosemary prefers drier soil.
- Pinch off flower buds early; keeping the plant vegetative boosts leaf flavor and extends the harvest season.
Key Takeaways
Start with a light, well‑draining soil mix and give herbs at least 4–6 hours of bright, indirect light for healthy growth.
Pair herbs with compatible companions—like basil with tomatoes or rosemary with carrots—to boost flavor and naturally deter pests.
Harvest regularly, snipping just above a leaf node, to encourage bushier plants and a continuous, aromatic supply for your kitchen.
Herbs: Small Borders, Big Stories
Each sprig of basil I tend—whether in a bustling Delhi balcony or a quiet London flat—feels like planting a tiny flag, a quiet diplomacy of the palate that shows flavors can cross borders faster than any treaty.
Alexandra Thompson
Harvesting Connections: Your Herb Journey Comes Full Circle
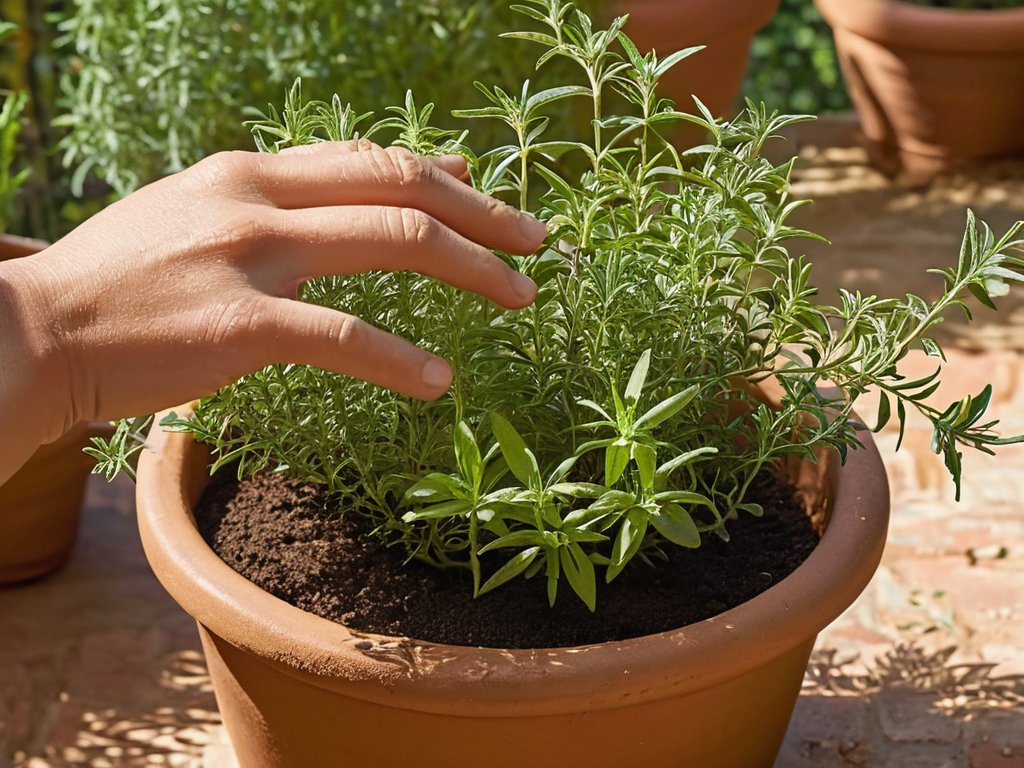
Looking back on the steps we’ve walked together, the roadmap to a thriving herb garden is surprisingly simple yet richly layered. We began with the soil secrets that give each seed a stable home—well‑draining, lightly enriched mix paired with a window that mimics the Mediterranean sun I first chased in a Tuscan courtyard. From there, the rhythm of seasonal pruning reminded me of the monsoon cycles that shape my Delhi childhood, while companion planting turned the garden into a miniature diplomacy, where basil shields tomatoes and rosemary deters pests without a single chemical. Finally, organic pest control—hand‑picked beetles, neem sprays, and a dash of garlic—kept the harvest clean, flavorful, and ready for any kitchen adventure.
In the quiet moments when I crush fresh thyme over a steaming dal or sprinkle rosemary on a freshly baked focaccia, I feel the invisible threads that tie my London flat, the streets of Varanasi, and the spice markets of Marrakech together. Every leaf is a passport, every aroma a story waiting to be shared across dinner tables and digital forums. By tending these humble plants, we become custodians of culinary heritage and ambassadors of the simple generosity that travel taught me—one pot, one garden, one conversation at a time. So plant your seeds, watch them grow, and let the world taste the love you’ve cultivated.
Frequently Asked Questions
How often should I water my indoor herb garden?
I water my basil, mint and cilantro like I check the pulse of a market—just enough to keep the crowd lively, never drowning it. In a bright windowsill, feel the top inch of soil; if it’s dry to the touch, give it a pour until water drips from the pot’s bottom, then let it rest. In winter or low light, the same cue may stretch to every 4‑5 days. The rule of thumb: touch, not timer.
Can I grow herbs hydroponically at home?
Absolutely—I’ve tended basil, mint, and cilantro in a small nutrient‑film system on my balcony, and the results are surprisingly vibrant. Hydroponics lets you control water, nutrients, and light, so herbs grow faster and with less mess than soil. All you need is a compact reservoir, a pump, and a growing medium like coconut fibre; then choose a light source if natural sun is limited. Keep the solution oxygenated, watch pH, and you’ll harvest fresh flavors year‑round.
What are the best herbs for beginners with limited sunlight?
Living in a London flat with a north‑facing window taught me which herbs can thrive on a shy light budget. I start with mint – it spreads happily in a dim corner, and its fresh scent instantly feels like a garden in the city. Parsley and cilantro love the cool, indirect glow, while chives pop up like tiny green fireworks. Lemon balm and oregano are also forgiving, forgiving low‑light lovers who want flavor without a sun‑bathing schedule.