I was crouched on the cracked balcony of a modest flat in New Delhi, monsoon rain drumming on the tin roof, when a sudden, sour whiff rose from the bucket I’d hastily filled with yesterday’s onion skins, carrot peels and tea leaves. My mind flicked back to the sleek briefing rooms in London where I’d been told that kitchen scraps are a nuisance, best shipped off to the city’s waste trucks. The counter‑intuitive truth? Composting kitchen waste doesn’t need a sprawling garden or a high‑tech system—just a simple, sealed bin can turn that smell into fertile soil, right on a windowsill.
In the next few minutes I’ll walk you through the no‑hype, step‑by‑step process that took me from a bewildered diplomat to a confident home‑composter: choosing the right container, balancing “greens” and “browns,” troubleshooting common odors, and even how to use the finished compost in a balcony herb garden. By the end, you’ll have a practical toolkit that fits any living‑space, plus a few cultural anecdotes that show how this humble practice connects kitchens across continents.
Table of Contents
- Project Overview
- Step-by-Step Instructions
- Composting Kitchen Waste Turning Daily Scraps Into Global Stories
- Best Indoor Composting Methods That Keep Odor at Bay
- How to Start a Kitchen Waste Compost Bin in Small Spaces
- Five Essential Tips for Turning Kitchen Scraps into Soil Gold
- Key Takeaways for Everyday Composting
- Compost as a Global Conversation
- Closing the Loop: From Scraps to Shared Stories
- Frequently Asked Questions
Project Overview
Total Time: 1 hour (initial setup) + ongoing maintenance
Estimated Cost: $30 – $70
Difficulty Level: Easy
Tools Required
- Compost Bin (plastic or metal) (Choose a size that fits under the kitchen sink or on a balcony)
- Garden Trowel ((for turning and transferring waste))
- Kitchen Scraper or Small Shovel ((to collect food scraps))
- Measuring Cup ((to portion liquid waste))
Supplies & Materials
- Bokashi Inoculant or Compost Starter (Speeds up decomposition of kitchen waste)
- Brown Material (shredded newspaper, cardboard, dry leaves) (Balances carbon-to-nitrogen ratio)
- Charcoal Filter or Lid (Helps control odor)
- Moisture Meter (optional) (Ensures the pile stays adequately damp)
Step-by-Step Instructions
- 1. First, gather your kitchen scraps – peel‑off the stories behind each carrot top, banana skin, or coffee grounds. I like to keep a small, bamboo‑capped bucket on the counter, so the waste never strays far from its source. Separate the edible leftovers from the non‑compostables (plastic, metal, and that stubborn egg shell you might want to keep whole for garden use).
- 2. Choose a composting system that fits your space and rhythm. Whether it’s a simple outdoor bin tucked behind the garden fence, a sleek indoor tumbler for a city flat, or a thriving worm bin that feels like a miniature ecosystem, pick what feels right for your daily flow. A compact worm bin can be especially rewarding if you’re short on yard space but crave a hands‑on connection.
- 3. Set up the base layer with “brown” material. I start with shredded newspaper, dry leaves, or even straw—anything that adds carbon and helps aerate. Spread about 4‑5 cm (2 inches) across the bottom of the container; this creates a breathable foundation and prevents soggy pockets that could sour the process.
- 4. Add your “green” kitchen waste in manageable bites. Chop larger pieces (think broccoli stems or citrus peels) into bite‑size bits to speed decomposition. Sprinkle a thin veil of brown material over each new addition – a little newspaper or sawdust – to keep odors at bay and maintain the right carbon‑to‑nitrogen balance.
- 5. Moisture and aeration are the heartbeat of composting. After each load, give the pile a gentle sprinkle of water until it feels like a wrung‑out sponge; too dry and microbes go dormant, too wet and they drown. Then, using a garden fork or the tumbler’s crank, turn the heap every few days to invite fresh oxygen, which fuels the invisible army of bacteria and fungi.
- 6. Watch the transformation, then harvest the dark, crumbly gold. In about 4‑8 weeks (depending on climate and care), the once‑vibrant scraps will turn into rich, earthy compost. When the material looks deep brown, smells of fresh soil, and no longer resembles its original form, it’s ready to be sifted and collected.
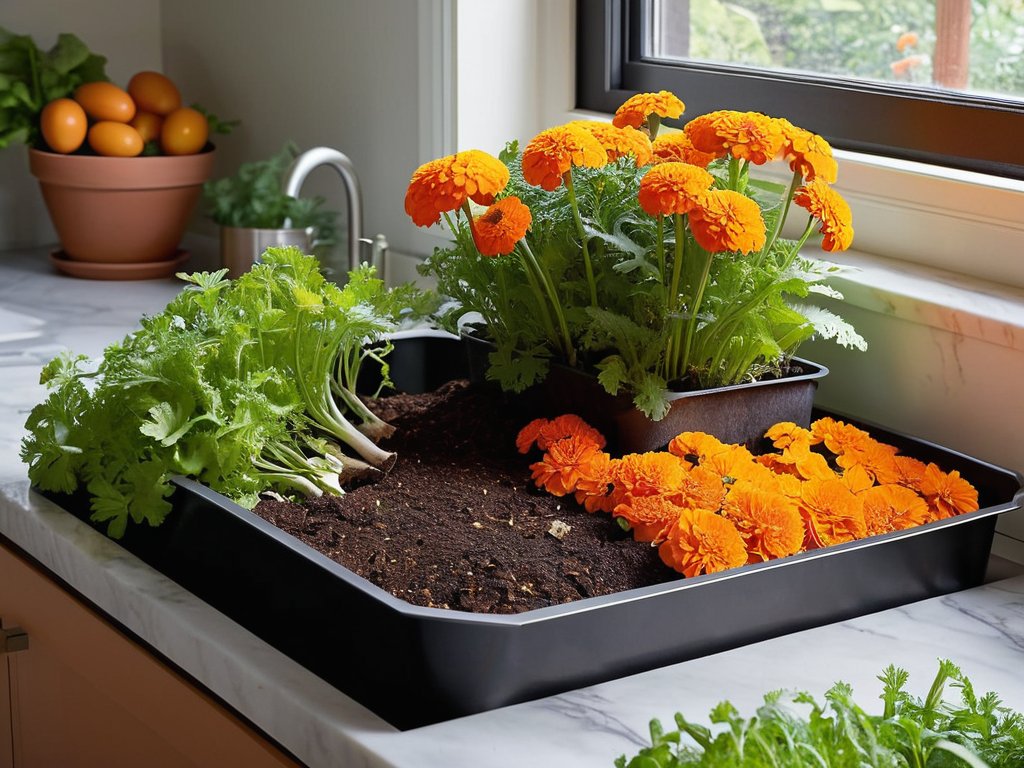
- 7. Put your compost to work in the world beyond your kitchen. Spread it around houseplants, enrich a balcony herb garden, or share a batch with a community garden you’ve visited on your travels. Each handful not only feeds the soil but also carries a story of connection—from your countertop to the wider landscape of shared growth.
Composting Kitchen Waste Turning Daily Scraps Into Global Stories
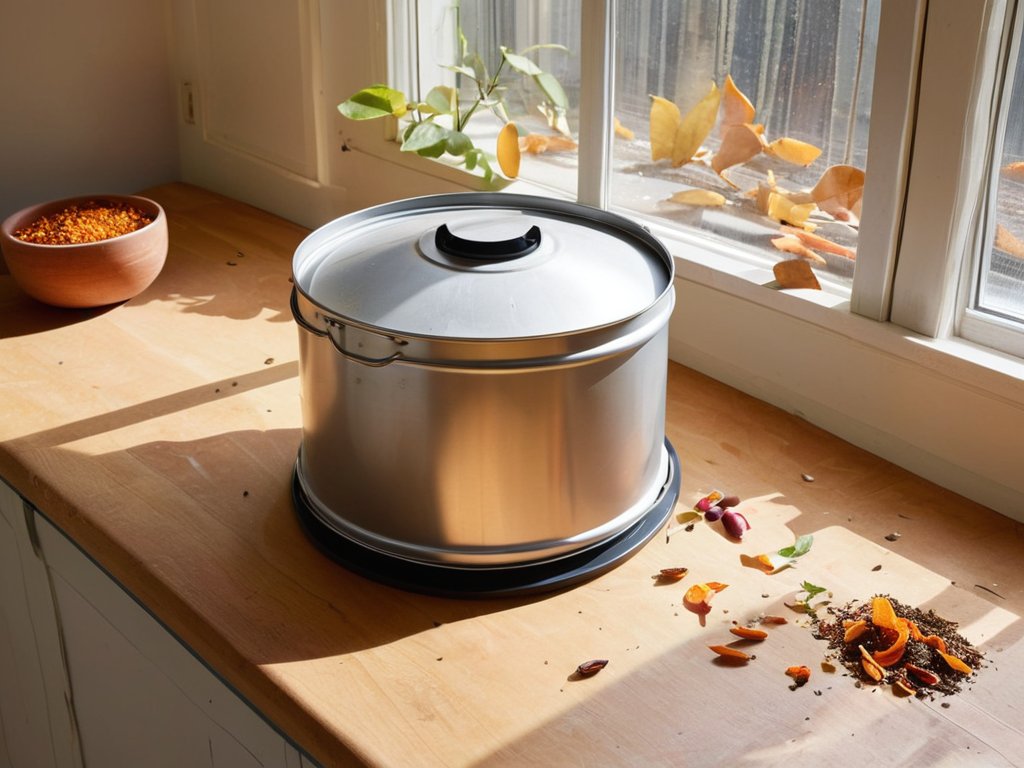
When I first tried how to start a kitchen waste compost bin in my modest London flat, the biggest surprise was how quickly the smell‑control lesson became a lesson in patience. A simple kitchen caddy with a vented lid does the trick, but the real secret lies in the carbon‑to‑nitrogen balance: layer shredded newspaper or cardboard (the “browns”) with fruit peels, coffee grounds, and tea bags (the “greens”). If you notice a sour whiff, sprinkle a handful of dry leaves or a bit of sawdust and give the pile a gentle shake—this aerates the mix and prevents composting food scraps without odor from turning into a nuisance. For those who prefer a more hands‑off approach, a DIY compost tumbler for kitchen waste can be assembled from an old paint drum; the rotating motion keeps oxygen flowing and speeds up the breakdown, while the sealed container keeps neighbors happy.
Living in a high‑rise apartment taught me that good composting can be a quiet, shared narrative. I’ve started a small community board in my building’s lobby, inviting residents to post photos of their bins and swap tips about best indoor composting methods. The exchange of stories—whether it’s a neighbor’s success with worm bins or a troubleshooting kitchen compost problem solved by adjusting moisture—creates a micro‑cosm of global stewardship. In this way, each banana peel or carrot top becomes a thread in a larger tapestry that links our everyday kitchens to the wider conversation about sustainable living.
Best Indoor Composting Methods That Keep Odor at Bay
When I first tried a tiny bokashi bucket in a Delhi apartment, the secret was less about the microbes and more about the airtight ritual. I seal each handful of vegetable peel with a sprinkle of the fermented‑bran inoculant, then press the lid shut; the anaerobic environment traps the sour scent, turning it into a subtle, earthy perfume that reminds me of monsoon‑soaked markets rather than kitchen rot. A similar whisper‑quiet solution is a compact worm bin tucked under the sink, where red wigglers feast on scraps while a layer of shredded newspaper acts like a natural filter, absorbing moisture and neutralising odours. Adding a thin sheet of activated charcoal or a handful of coffee grounds to the top layer gives the system an extra breath of fresh‑air, echoing the way cafés in Marrakech reuse their coffee grounds to enrich garden soil—proof that even indoor compost can be a quiet, fragrant bridge between our daily meals and the wider world.
How to Start a Kitchen Waste Compost Bin in Small Spaces
When I tried composting in a tiny studio flat in Delhi’s Mehrauli, the only space was a narrow balcony overlooking a bustling street. I bought a compact, odor‑free tumbler that fits under the kitchen table. Start with a thin sheet of newspaper, then add fruit peels, coffee grounds, and a sprinkle of dry leaves. Aim for a 2‑to‑1 ratio of greens to browns to keep the pile aerobic and odor‑free.
Once the bin is humming, give it a gentle shake weekly and keep the lid ajar on humid days. In a month the scraps become crumbly, earth‑kissed material you can slip into a pot of herbs on the windowsill. It’s a tiny act, but each bite of compost whispers a story of food cycles that echo from my grandparents’ London kitchen to the rice paddies of Vietnam in my heart.
Five Essential Tips for Turning Kitchen Scraps into Soil Gold
- Balance greens and browns: pair fruit peels with coffee grounds and a handful of shredded newspaper to keep the carbon‑nitrogen ratio happy.
- Keep it bite‑size: chop vegetables and fruit into pieces no larger than a coin to speed up decomposition and avoid soggy pockets.
- Mind the moisture: the mix should feel like a wrung‑out sponge—add a spray of water or a dry paper towel if it’s too dry, and stir in dry leaves if it’s too wet.
- Ventilate regularly: give your bin a gentle stir every few days to introduce oxygen and banish any unwanted odors before they travel beyond the kitchen.
- Harvest at the right time: when the compost looks dark, crumbly, and earthy (usually after 4–6 weeks), sift out any remaining scraps and let the fresh humus nurture your plants.
Key Takeaways for Everyday Composting
Even a tiny countertop bin can turn yesterday’s peelings into fertile soil, proving that small habits echo big environmental narratives.
Balancing carbon‑rich (dry) and nitrogen‑rich (wet) scraps, plus a sprinkle of kitchen‑sized brown material, keeps the process odor‑free and lively.
Composting isn’t just waste management; it’s a conversation with the planet, linking your kitchen to global cycles of renewal.
Compost as a Global Conversation
When we turn yesterday’s curry skins, London lettuce cores, or a New Delhi mango pit into dark earth, we’re not just feeding a plant—we’re stitching together a quiet story of shared stewardship that spans continents.
Alexandra Thompson
Closing the Loop: From Scraps to Shared Stories
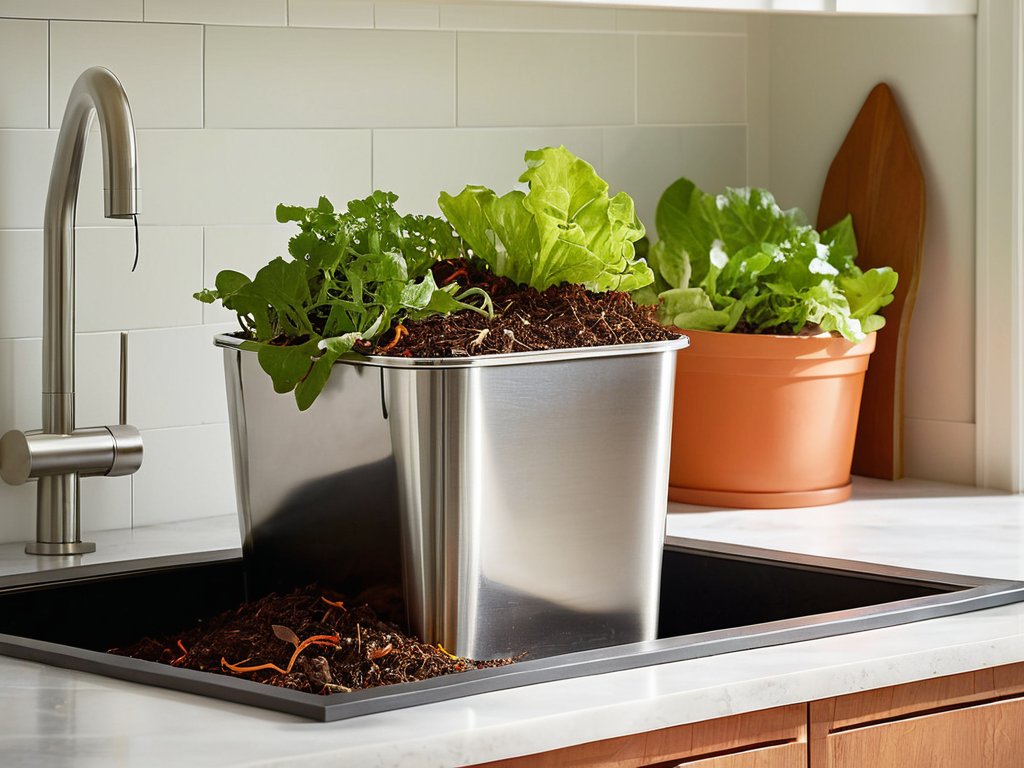
Throughout this guide we’ve unpacked the essentials of turning everyday kitchen scraps into nutrient‑rich compost, even when square footage is at a premium. By selecting a compact bin, layering browns and greens, and keeping the mix moist, you can launch a system in small spaces. The indoor methods we explored—sealed buckets, worm farms, and countertop tumblers—show that a managed setup stays odor‑free while delivering fertile soil for houseplants or a community garden. Regular turning, proper carbon‑to‑nitrogen balance, and simple troubleshooting keep the process smooth, turning waste into a resource that feeds both your home and the planet. Over time, you’ll notice richer texture, darker hue, and a pleasant earthy smell—signs that the microorganisms are doing their work.
When you pull that dark, crumbly batch from your balcony bin and scatter it into a pot or plot, you’re completing a quiet dialogue that stretches far beyond your kitchen. Each spoonful carries the story of a tomato skin in Delhi, a carrot peel in London, and the collective breath of households choosing regeneration over landfill. By turning waste into life, we stitch together global connections that remind us how interlinked our daily habits are with climate equity and food security. So, let your next meal end not with a trash bag, but with a promise—to nurture the earth, one humble scrap at a time.
Frequently Asked Questions
What types of kitchen waste can’t be composted safely at home?
I’ve learned that not every bite belongs in the bin. Avoid meat, fish, and dairy—they attract pests and create strong odors that can overwhelm a small home system. Citrus skins and onions, while nutritious, often acidify the pile and slow decomposition, so they’re best kept to a minimum. Raw potato or banana peels can sprout unwanted plants, and any oily or greasy leftovers will coat microbes, choking the process. Sticking to fruit scraps, coffee grounds, and dry paper keeps your compost healthy and home‑friendly.
How often should I turn or stir my indoor compost to prevent odors?
I’ve found that a gentle stir every 48‑72 hours does the trick—just enough to keep air flowing without unsettling the microbes that love a quiet, moist home. If you notice a sour whiff, give it a quick turn; if the bin feels dry, a brief mix and a splash of water will re‑hydrate the pile and mute any odor. Think of it as a daily “check‑in” with your little ecosystem, a rhythm that keeps the smells at bay and the compost thriving.
Can I use my kitchen compost to enrich a balcony garden in a city apartment?
Absolutely—I’ve turned my balcony herbs into a thriving oasis with just a spoonful of kitchen compost each week. The key is to keep the material well‑aged (at least two weeks) and to mix it with a light, airy medium like coconut coir or peat so water drains freely. A shallow, lidded bin or a worm farm works wonders on a balcony; just monitor moisture and you’ll watch your tomatoes, basil and citrus trees flourish.