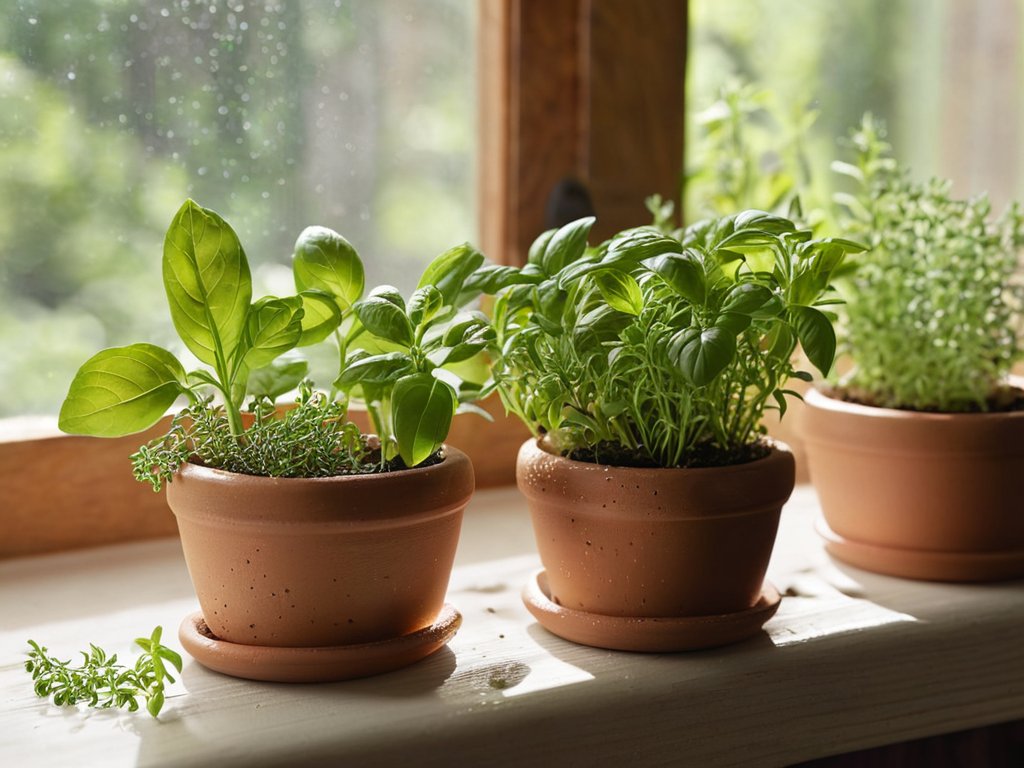
I was crouched on a rickety balcony in a Marrakech riad, the sun already turning the terracotta tiles a deep amber, when I realized the tiny pot of mint at my feet was a diplomatic gesture I’d never imagined. A weary traveler from Delhi asked for a pinch of fresh leaves for his tea, and I handed him a sprig that had never known a greenhouse. That moment reminded me why I’m eager to help anyone grow herbs at home—because a single leaf can bridge continents, spark conversation, and turn a modest kitchen into a crossroads of cultures.
In the pages that follow I’ll strip away the glossy “green thumb” myth and give you a no‑nonsense, step‑by‑step playbook: how to pick the right varieties for a windowsill or a sunny sill, the soil mix that mimics the loam of a hillside garden, watering rhythms that respect each herb’s temperament, and the timing for snipping leaves so the plant stays vigorous. By the end you’ll walk away with a compact herb arsenal that not only flavors your meals but also keeps the spirit of global exchange alive on your countertop.
Table of Contents
- Project Overview
- Step-by-Step Instructions
- Why We Grow Herbs at Home Exploring Container Choices
- Indoor Herb Garden Kits Meet Soil Mix for Indoor Herbs
- Lighting Requirements Pest Control and Pruning Basil for Continuous Harvest
- 🌿 Key Takeaways for Your Home Herb Journey
- Rooted in the Kitchen
- Conclusion
- Frequently Asked Questions
Project Overview
Total Time: 1 hour
Estimated Cost: $30 – $80
Difficulty Level: Easy
Tools Required
- Potting containers or pots (e.g., 6 inches wide clay or plastic pots)
- Watering can or spray bottle
- Hand trowel or small shovel
- Pruning scissors
- Garden gloves ((optional))
Supplies & Materials
- Potting mix (well-draining)
- Herb seeds or seedlings (e.g., basil, mint, parsley)
- Label tags (to identify herbs)
- Fertilizer (balanced liquid fertilizer)
- Tray or saucer (to catch excess water)
Step-by-Step Instructions
- 1. Choose your herbs wisely – I start by picking varieties that echo the places I’ve visited: basil for its Mediterranean sun, mint for the cool breezes of the Himalayas, and coriander that reminds me of bustling Indian markets. Grab small pots (4–6 inches) with drainage holes, and line the bottom with a thin layer of gravel or broken terracotta shards to keep roots from drowning.
- 2. Select a sunny spot – Herbs crave at least 4–6 hours of direct light. A windowsill that catches the morning sun works wonders; if natural light is shy, a modest LED grow light set on a 12‑hour cycle will keep them thriving.
- 3. Prepare the soil mix – Combine equal parts potting compost, coconut coir, and a pinch of perlite. This blend offers the right balance of moisture retention and aeration, mimicking the loamy soils of the valleys I once trekked through in Nepal.
- 4. Plant with intention – Fill each pot about an inch below the rim, make a small depression, and gently set the seedling’s root ball inside. Pat the soil lightly, then water until it drips from the bottom, signalling the seedlings they’ve found a new home.
- 5. Water thoughtfully – Herbs prefer a steady, moderate moisture level. Check the top inch of soil each morning; if it feels dry, give a slow pour until water seeps out. In winter, reduce frequency but never let the soil bone‑dry.
- 6. Feed and prune – Every two weeks, sprinkle a diluted, organic liquid fertilizer (½ teaspoon per quart of water). As the leaves grow, pinch back the tips; this encourages bushier growth and mirrors the pruning rituals I observed with farmers in Morocco.
- 7. Harvest with gratitude – When the leaves are vibrant and about 2–3 inches long, snip them just above a node. Use scissors to avoid bruising, and enjoy the fresh aroma that instantly transports you to distant kitchens, reminding us that even a modest kitchen window can become a crossroads of cultures.
Why We Grow Herbs at Home Exploring Container Choices
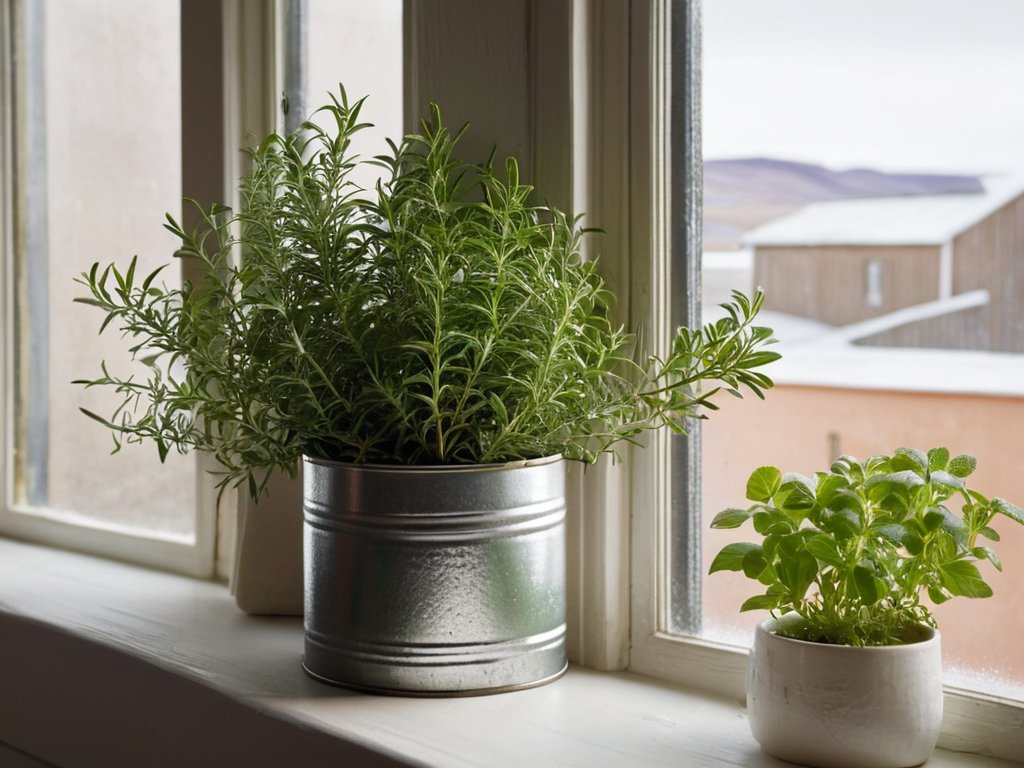
Whenever I step into a cramped kitchen in a guesthouse in Marrakech or a flat in Reykjavik, the first thing I miss is the scent of cilantro and mint drifting from a modest windowsill. Cultivating those aromatics myself becomes a small act of cultural translation, a reminder that the world can fit inside a pot. That’s why I pay close attention to container choices for herb gardening – a glazed ceramic jar can keep basil’s heat‑loving roots cozy, while a lightweight recycled tin lets me move rosemary from one balcony to another across continents without breaking a sweat.
The next step is treating the soil like a passport stamp. A soil mix for indoor herbs—half peat, a quarter perlite, and a dash of worm castings—offers drainage while holding enough moisture for thriving thyme or dill. Pair that with an LED strip that meets the lighting requirements for kitchen herb garden and you’ll see seedlings push through the dark like travelers eager for sunrise. And don’t forget a gentle prune: snipping the tops of basil not only encourages new growth but also gives you a fresh garnish in minutes.
Indoor Herb Garden Kits Meet Soil Mix for Indoor Herbs
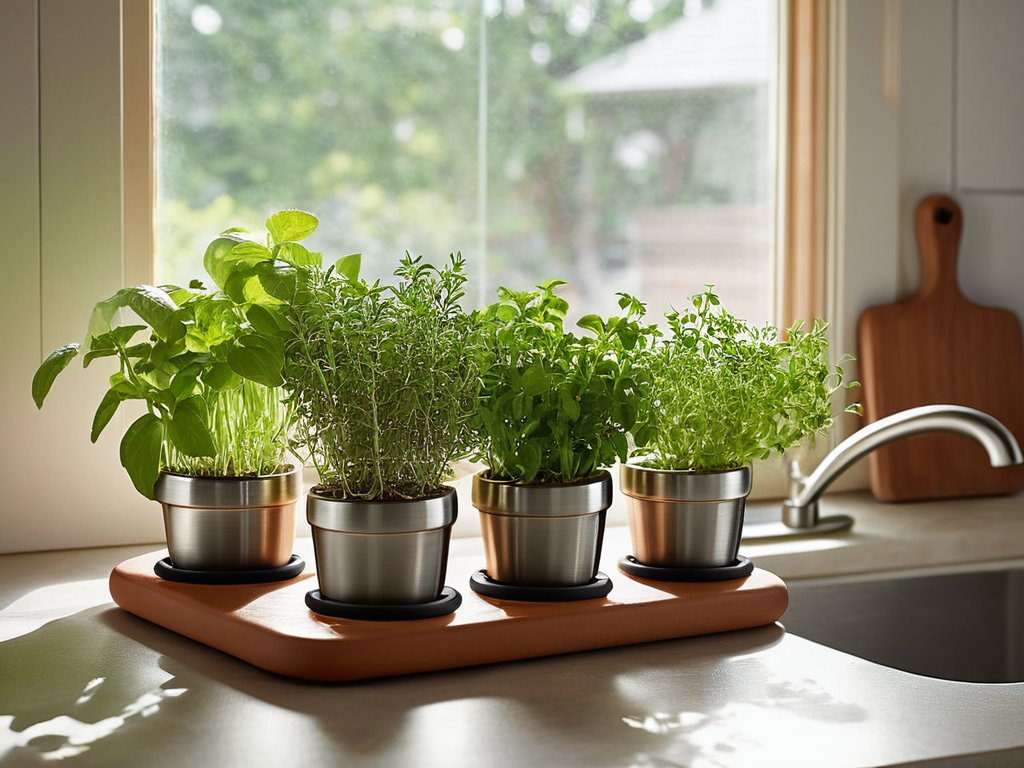
When I first unpacked a sleek, all‑in‑one herb garden kit on a rain‑soaked balcony in Delhi, I was struck by how the design whispered a promise of simplicity while holding a world of flavors. The pre‑filled peat‑coconut blend feels surprisingly lightweight, yet it retains just enough moisture to coax basil’s glossy leaves and cilantro’s feathery tops into thriving without the guesswork of traditional loam. I’ve learned that pairing these kits with a custom‑mix—adding a pinch of perlite for aeration and a spoonful of worm castings for that earthy depth—creates a micro‑ecosystem that mirrors the soils of the spice markets I grew up visiting. The result is more than convenience; it’s a tactile bridge between my childhood aromas and today’s urban kitchen, turning a compact tray into a living passport that feeds both palate and curiosity.
Lighting Requirements Pest Control and Pruning Basil for Continuous Harvest
I’ve learned that basil, like the sun‑kissed terraces of my grandparents’ Delhi courtyard, thrives under indirect light. A south‑facing windowsill that bathes the leaves in six to eight hours of sunshine does the trick; if your flat is cloud‑shrouded, a modest LED grow lamp set six inches above the foliage mimics that Mediterranean glow. Light consistency is key—fluctuations stress the plant and dull its aromatic oils.
After a few weeks I scout for the tell‑tale specks of aphids or whiteflies that can silently sap a basil’s vigor. A morning mist of neem oil or a swipe with insecticidal soap clears them without overwhelming kitchen scent. Pruning becomes a ritual: I pinch the top pair of leaves once the stem reaches six inches, prompting a bushier growth and a supply of stalks. Harvest before the flowers open, and flavor stays sweet month after month.
🌿 Key Takeaways for Your Home Herb Journey
A sunny windowsill or a well‑lit shelf can replace a garden plot—choose light over space, and your herbs will thrive.
Simple containers, quality potting mix, and a pinch of organic fertilizer are the foundations of a resilient indoor herb garden.
Regular pruning—especially of basil—feeds the plant, keeps it bushy, and guarantees a steady harvest for months to come.
Rooted in the Kitchen
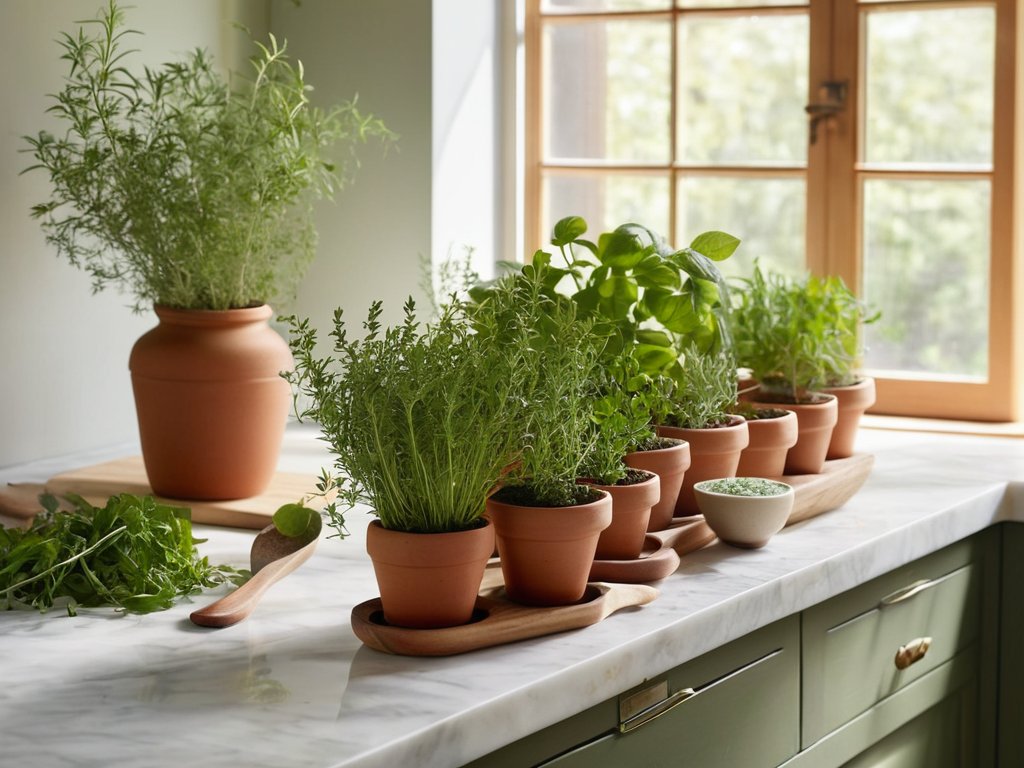
Cultivating herbs at home is more than a culinary shortcut—it’s a daily act of cultural exchange, where a sprig of basil whispers stories of Mediterranean markets and a pinch of cilantro carries the heartbeat of distant farms, reminding us that the world can fit on a windowsill.
Alexandra Thompson
Conclusion
Looking back over the guide, I’m reminded how each small decision—selecting a breathable pot, tailoring a light‑weight soil blend, positioning the tray where consistent light kisses the leaves—creates the foundation for a thriving indoor herb garden. The step‑by‑step routine we mapped out, from seeding to the rhythmic pruning of basil to coax endless shoots, demystifies what many assume is a horticultural hurdle. By pairing ready‑made kits with a pinch of DIY soil, monitoring humidity, and staying vigilant against aphids or fungal whispers, you set up a resilient micro‑ecosystem that delivers fresh flavor year‑round. In short, the basics are simple, but the payoff is richly aromatic.
Beyond the practicalities, tending a windowsill garden feels like a quiet act of diplomacy—each sprig of cilantro or rosemary whispers stories from distant kitchens, inviting me to stitch together the flavors of Marrakech, Oaxaca, and my own London kitchen. When I harvest a handful of basil, I’m not just seasoning a pasta; I’m cultivating a bridge between cultures I’ve encountered on the road, and the vintage globes that line my study remind me how small our world can feel when it fits on a windowsill. I hope you’ll let the scent of home‑grown herbs draw you into that conversation, and that your next pot becomes a passport to global flavors waiting to be explored.
Frequently Asked Questions
How often should I water my indoor herbs without over‑watering them?
From my kitchen window in London, I’ve learned that most indoor herbs thrive on a rhythm of “when the top inch feels dry.” In practice that usually means watering every 3‑4 days in summer, but stretching to once a week once the thermostat drops. The trick is to check the soil with your fingertip, not the calendar, and to empty any saucer so the roots never sit in water. Consistency, not frequency, keeps them happy.
Can I grow a mix of Mediterranean and Asian herbs together in the same container, or do they need separate pots?
From my balcony in Delhi, I’ve found that mixing Mediterranean staples like rosemary and thyme with Asian herbs such as cilantro and Thai basil can work, but only if you honor their different water and light needs. Mediterranean herbs prefer drier, well‑drained soil and full sun; many Asian varieties thrive in consistently moist soil and a touch of shade. I usually give them separate micro‑zones in one large pot, or simply split them into two containers.
What’s the best way to harvest and store basil, mint, and cilantro so they stay fresh for weeks?
After snipping the tops in the early morning, I wash them gently, pat dry, and slice the basil and mint into ribbons; cilantro I keep whole. I spread the leaves on a paper towel, roll them loosely, and tuck the bundle into a zip‑lock bag with a dry kitchen towel. Store the bag in the crisper, where the humidity stays low. With this routine, the herbs stay vibrant for up to three weeks.