Imagine the heat of a Delhi summer pressing against the metal lid of a dented glass jar, the air thick with the tang of lactic acid as I watch a thin layer of brine turn a handful of cauliflower into a crisp, bubbling kimchi. It was my first real encounter with fermentation, and the lesson was simple: you don’t need a laboratory or a secret family recipe to coax microbes into creating flavor—just curiosity, patience, and a pinch of courage. In that cramped kitchen, I learned that the same microbial dance that preserves ancient pickles can also bridge continents, turning a stray market stall in Oaxaca into a conversation about trade routes and taste. Fermentation isn’t a mysterious art reserved for monks; it’s a universal language spoken by anyone willing to let a little chaos ferment into something delicious.
In the pages that follow I’ll walk you through every step—selecting the right salt, mastering temperature, and troubleshooting the inevitable fizz—so you can launch a sauerkraut batch, a kombucha brew, or a spontaneous pickle without the usual guesswork. Expect clear, no‑hype, practical tips that fit even the busiest global‑citizen schedule.
Table of Contents
- Project Overview
- Step-by-Step Instructions
- Fermentation Exploring Benefits of Lacto Fermentation and Global Time Chart
- How to Choose Home Fermentation Starter Kits for Flavorful Journeys
- Preventing Mold and Mastering Temperature Control for Safe Ferments
- Key Takeaways for Your Fermentation Adventure
- Fermentation: The Silent Bridge Across Cultures
- Conclusion
- Frequently Asked Questions
Project Overview
Total Time: 1 to 2 weeks (including fermentation period)
Estimated Cost: $15 – $30
Difficulty Level: Intermediate
Tools Required
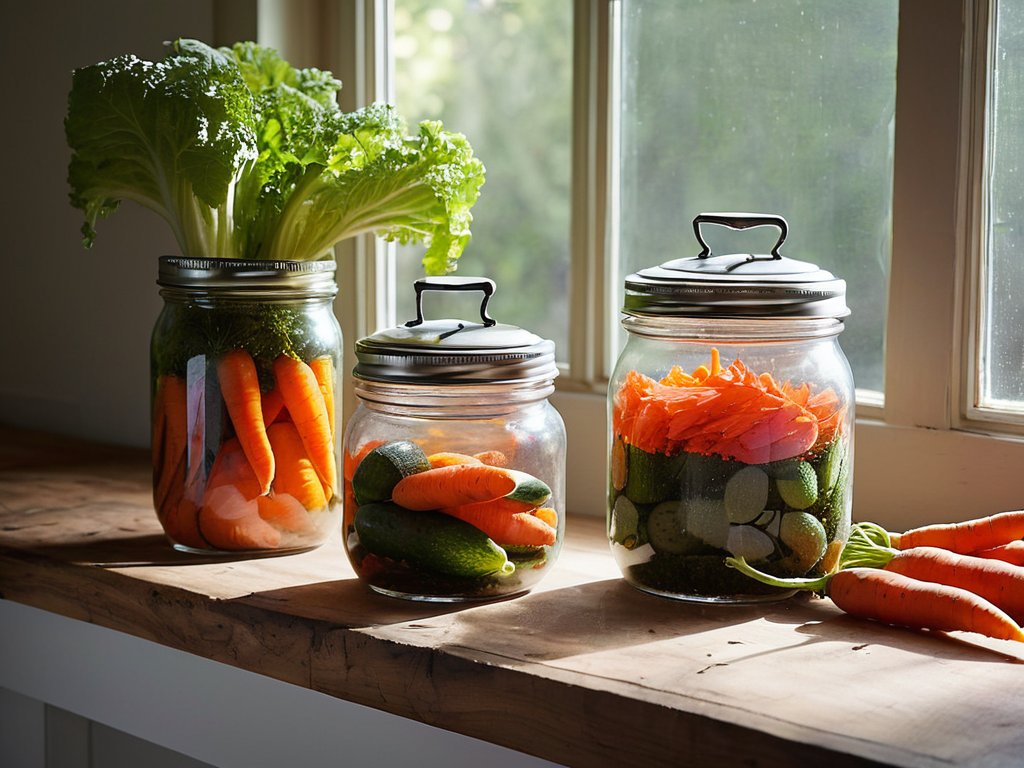
- 1-gallon wide-mouth mason jar (for small batches)
- Fermentation crock or stoneware vessel (optional for larger batches)
- Fermentation weight (to keep produce submerged)
- Airlock lid or fermentation lock (prevents contamination while allowing gases to escape)
- Funnel (for transferring liquids)
- Kitchen scale (for accurate ingredient measurements)
- Thermometer (to monitor temperature (ideally 65-75°F))
- Clean cloth or coffee filter (to cover jars when using a loose lid)
Supplies & Materials
- Cabbage (or other vegetables) (fresh, organic if possible)
- Non-iodized salt (e.g., sea salt or kosher salt)
- Water (filtered or boiled and cooled)
- Starter culture (optional) (e.g., whey, kombucha SCOBY, or yogurt starter)
- Sugar or sweetener (for kombucha or certain vegetable ferments)
- Spices/herbs (e.g., garlic, ginger, peppercorns for flavor)
Step-by-Step Instructions
- 1. First, gather the essentials: I always start by laying out fresh produce, high‑quality sea salt, and a clean, non‑reactive vessel—usually a ceramic crocks I collected during a stint in Oaxaca. Add a trusty wooden spoon, a weight (like a small glass jar), and a breathable cloth. Having everything at hand makes the process feel like packing for a spontaneous road trip, and it keeps the kitchen tidy.
- 2. Next, prep your base: Wash the vegetables thoroughly, then slice them into uniform pieces—think of it as mapping out a travel itinerary, each cut a stop on the journey. Sprinkle the salt over the veggies and massage gently for about five minutes until they start to release their own juices; this natural brine is the foundation of every good fermentation.
- 3. Create the brine or starter culture: For a simple salt brine, dissolve 2 tablespoons of sea salt per litre of water, stirring until fully dissolved. If you’re using a starter like whey or a previous batch’s liquid, add about a quarter cup per litre. I recall learning this balance while sharing a kimchi workshop in Seoul, where the ratio of salt to water was treated like a cultural secret.
- 4. Pack the vessel tightly: Transfer the salted vegetables into the crock, pressing down firmly to eliminate air pockets. Place the weight on top, then pour the brine until the produce is completely submerged—no exposure to air. Cover with the cloth and secure it with a rubber band; this air‑tight yet breathable seal mirrors the way ancient caravans secured their cargo.
- 5. Set the fermentation temperature: Store the crock in a cool, dark spot where the temperature hovers between 18‑22 °C (64‑72 °F). I often check my vintage globe collection for climate clues—if the globe points to a temperate zone, it’s a good sign the environment is right. Let the mixture rest undisturbed for 3‑7 days, depending on the desired tang.
- 6. Monitor, taste, and adjust: Each day, peek under the cloth, ensure the vegetables stay submerged, and give the brine a gentle stir if needed. After the third day, start tasting a small piece; when the flavor hits that bright, slightly sour note you’re after, it’s ready. Adjusting the time is like fine‑tuning a travel itinerary after hearing local stories.
- 7. Finish and store: Once satisfied, transfer the fermented veggies into clean glass jars, seal tightly, and refrigerate. The cooler temperature slows the fermentation, preserving the flavors for weeks or even months. I love sharing these jars with friends back in London and Delhi—each bite becomes a tiny cultural exchange, a reminder that fermentation is as much about connection as it is about flavor.
Fermentation Exploring Benefits of Lacto Fermentation and Global Time Chart
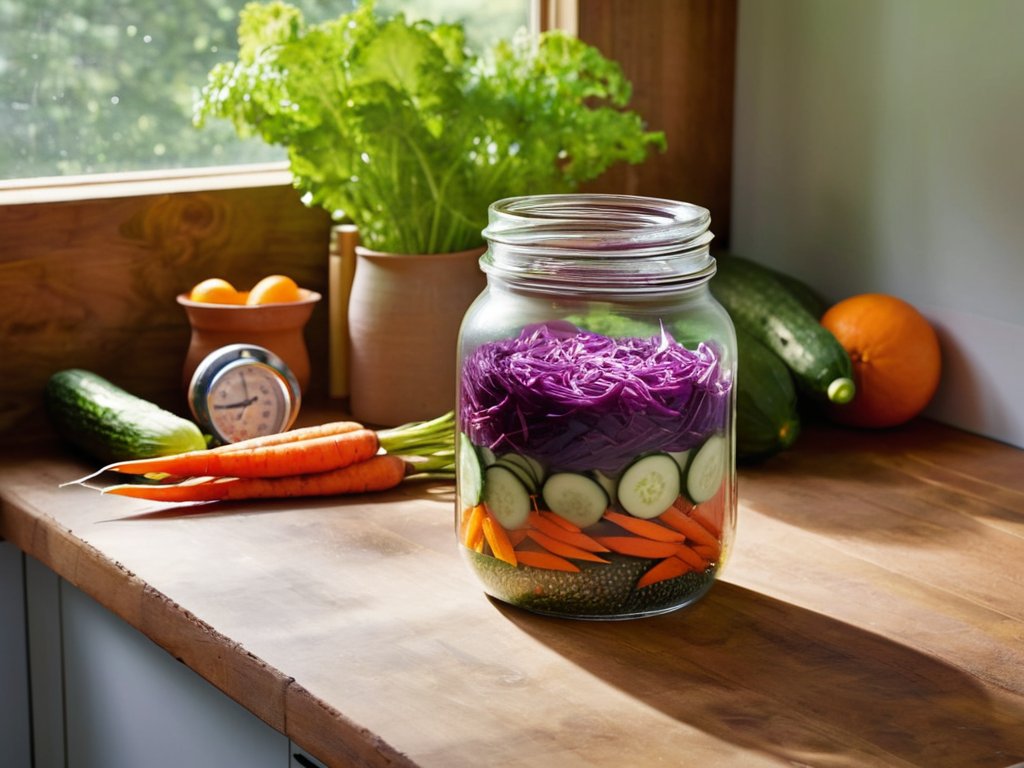
When I first mapped out my benefits of lacto‑fermentation, I was struck by how a simple salt‑water brine could turn crisp vegetables into probiotic powerhouses that ease digestion and brighten the palate. A reliable fermentation time chart becomes your compass: shorter waits preserve crunch, while a slower drift deepens tang and boosts the friendly microbes. I’ve learned that keeping the temperature within the 65‑70 °F window—thanks to a modest fridge‑drawer thermometer—helps those bacteria thrive without inviting unwanted guests. Think of temperature control as the quiet diplomat that negotiates harmony between flavor and health.
If you’re tempted to dive straight into a jar, consider a home fermentation starter kit; the pre‑measured cultures take the guesswork out of the first batch and give you a safety net while you master the art. One habit that saved me countless batches is a quick rinse of the lid and a dab of oil on the rim—my go‑to method how to prevent mold in fermentation. Pair that with the basic safety guidelines: keep everything spotless, watch for off‑smells, and never leave jars in direct sunlight. Once you’ve got the basics down, the world of fermented beverage recipes—from ginger kvass to low‑alcohol kombucha—opens up like a passport to new cultures, all waiting in your pantry.
How to Choose Home Fermentation Starter Kits for Flavorful Journeys
When I unpack a starter kit, I treat it like a passport to a micro‑world I’ve only read about in globes. The first thing I look for is provenance: does the brand source its cultures from the region the flavor promises—Japanese koji, Korean kimchi, Ethiopian teff? A transparent origin story tells me the microbes have been nurtured in their native terroir, usually translating into a richer, more authentic bite. Next, I scan the ingredient list for simplicity; the best kits keep it to three or four items—vegetables, salt, and the starter—so I can see exactly what’s fermenting. Finally, I check the guide’s clarity: clear timelines, temperature ranges, and troubleshooting tips, especially when I’m juggling a Delhi summer night with a London winter flat. A kit that marries cultural fidelity with clear instructions becomes my ticket to a flavorful journey without boarding a plane.
Preventing Mold and Mastering Temperature Control for Safe Ferments
When I first tried kimchi in a tiny market stall in Busan, the crisp bite of the cabbage was a reminder that the right temperature is the quiet conductor of every safe ferment. I learned that most lacto‑ferments thrive between 18 °C and 22 °C (65 °F–72 °F); anything above 27 °C (80 °F) invites unwanted yeasts, while a chill below 12 °C (55 °F) stalls the lactic acid bloom. A simple thermometer clipped to the lid of my jar becomes a passport‑control checkpoint, letting me adjust the spot—whether a cool pantry shelf or a warm windowsill—until the environment stays steady for a day or two.
Mold, the unsightly intruder, often appears when the surface dries out or when air sneaks past the seal. I always press my vegetables down with a clean weight, ensuring they stay fully submerged in brine, and I seal the jar with a breathable cloth or a fermentation lid that releases CO₂ but blocks spores. A quick skim of any cloudiness with a sanitized spoon and a splash of fresh brine can also restore the protective barrier, keeping the culture healthy and the flavors pure.
Key Takeaways for Your Fermentation Adventure
Lacto‑fermentation is a living dialogue between microbes and ingredients—respect the temperature range and you’ll harvest depth, tang and probiotic power.
Choosing a starter kit isn’t just about flavor; look for transparent sourcing, clear activity indicators, and a community that shares troubleshooting tips.
Mold is the silent spoiler—keep everything clean, maintain stable temperatures, and give your ferment a breathable, but protected, environment to thrive.
Fermentation: The Silent Bridge Across Cultures
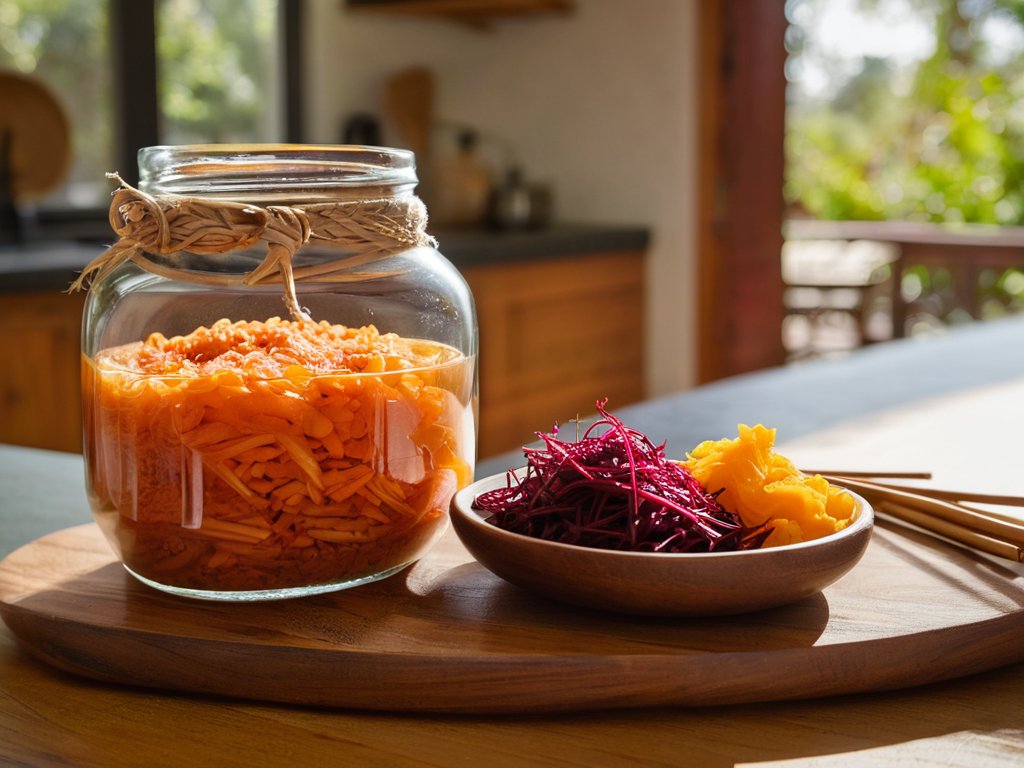
In every bubbling jar, a micro‑world rehearses the same ancient dialogue—microbes turning humble ingredients into shared stories, reminding us that the smallest transformations can echo across continents and generations.
Alexandra Thompson
Conclusion
Looking back over the journey we’ve just taken, the roadmap is simple yet rich. We began with a clear, step‑by‑step recipe that demystifies the science, then unpacked the healthful benefits of lacto-fermentation and mapped them onto global time charts so you can sync your kitchen with the rhythms of different regions. We compared starter kits, highlighting how a thoughtfully chosen culture can turn a modest jar into a flavorful passport, and we tackled the twin villains of mold and errant heat, offering practical tricks for temperature control and sanitation. In short, the guide equips you with the tools, timing, and confidence to launch safe, delicious ferments at home.
Beyond the kitchen, I see fermentation as a passport that lets us taste the stories of distant markets, from the bustling kimchi stalls of Seoul to the humble sauerkraut barrels of Berlin. Each bubbling jar carries a thread of cultural memory, and when we share a spoonful, we are exchanging more than flavor—we are swapping histories, climates, and the hopes of the hands that first cultivated the microbes. So I invite you to let your next batch be a conversation starter: invite a neighbor, a friend from another continent, or even your own future self. May the humble microbes remind us that, no matter where we are, we are all part of a single, ever‑fermenting world.
Frequently Asked Questions
Can I use locally sourced vegetables instead of store‑bought ones for lacto‑fermentation without compromising safety?
I do—just treat them like any other fresh produce. First, give your locally sourced veggies a thorough rinse under running water, and if you can, soak them in a brine (1 % salt) to draw out surface microbes. Choose crisp, unblemished pieces, trim any bruised spots, and keep your hands and tools impeccably clean. As long as you maintain the proper salt concentration and temperature, the native flora will ferment safely, often adding a richer, terroir‑laden flavor.
How long can I keep my fermented foods in the fridge before they lose their flavor and probiotic benefits?
I’ve learned that most home‑ferments stay bright and probiotic‑rich for about 2 – 3 months in a consistently cold fridge (around 4 °C/39 °F). After that, the flavor can start to mellow—sometimes pleasantly, sometimes a bit flat—and the live cultures slowly dwindle. If you notice a sour‑over‑sharp note or a fuzzy surface, it’s a sign they’re past their prime. To keep them at their peak, store jars tightly sealed, avoid temperature swings, and enjoy them within that window.
What are some low‑sodium starter kits or homemade alternatives for people watching their salt intake?
One of my go‑to low‑sodium kits is the ‘Salt‑Smart Kimchi’ from Fermentology – it swaps the usual 2 % brine for a 0.5 % solution and includes a pre‑measured starter culture, so you never have to guess the salt. If you prefer DIY, dissolve ½ teaspoon sea‑salt in a litre of filtered water, add a pinch of whey or a few crushed garlic cloves for microbes, and let the veggies bloom. Both routes keep the crunch while letting sodium stay in check.