I was crouched on the sun‑warmed balcony of a modest guesthouse in Oaxaca, listening to the distant clang of a church bell while a glass jar of amber liquid swirled in the afternoon heat. The moment the SCOBY pulsed for the first time, I realized that DIY kombucha fermentation wasn’t the sterile hobby I’d read about in glossy blogs—it was a living dialogue between climate, tea, and the hands that tend it. Years of diplomatic negotiations taught me that the simplest processes often hide the most intricate politics, and that fizzy brew was my first lesson in micro‑culture diplomacy.
In the pages that follow I strip away the mystique and give you the exact, no‑hype roadmap I used to turn that balcony experiment into a reliable kitchen ritual—how to choose the right tea, calibrate sugar ratios, nurture a healthy SCOBY, and troubleshoot the quirks that trip up even seasoned brewers. You’ll also get a quick cultural sidebar that connects each step to the centuries‑old traditions of tea masters from Shanghai to Darjeeling, because every sip is a reminder that we’re all part of a larger, bubbling conversation.
Table of Contents
- Project Overview
- Step-by-Step Instructions
- Diy Kombucha Fermentation a Global Citizens Journey
- How to Brew Kombucha at Home With Confidence
- Scoby Starter Tips Sweet Tea Base Temperature Control Flavoring Mold Troubl
- Key Takeaways for Your Kombucha Adventure
- Fermenting Connections Across Borders
- Conclusion
- Frequently Asked Questions
Project Overview
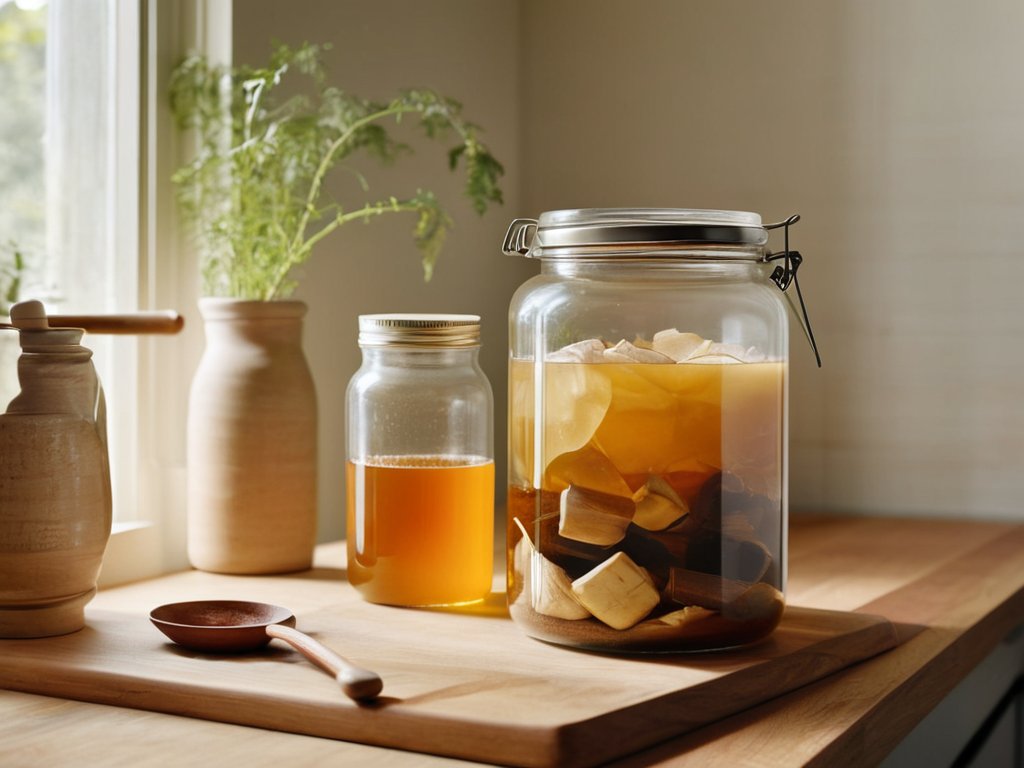
Total Time: 30 minutes prep + 7-14 days fermentation
Estimated Cost: $15 – $30
Difficulty Level: Easy
Tools Required
- Large glass jar (1 gallon capacity) (Must be food‑grade and free of cracks)
- Breathable cloth (e.g., coffee filter or muslin) (To cover the jar)
- Rubber band (To secure the cloth)
- Funnel (For transferring liquid)
- Measuring cup
- Wooden spoon or non‑metal stirrer
- Thermometer (optional) (To monitor temperature (75‑85°F ideal))
Supplies & Materials
- Black or green tea bags (2–3 teaspoons per quart of water)
- White granulated sugar (1 cup per gallon of water)
- Kombucha SCOBY (Starter culture)
- Starter tea (unflavored kombucha) (1 cup per gallon, from a previous batch or store‑bought)
- Filtered water
Step-by-Step Instructions
- 1. I begin by rounding up the essentials: organic black or green tea, raw cane sugar, filtered water, a healthy SCOBY, and a generous splash of starter kombucha from a previous batch or a reputable store. I also set out a wide‑mouth glass jar, a clean cloth cover, and a rubber band—nothing metal that could disturb the delicate culture.
- 2. Next, I bring the water to a rolling boil, then steep the tea leaves for about 5‑7 minutes, allowing the flavors to unfurl. While the tea is still warm, I stir in the sugar until it dissolves completely, then let the mixture cool to room temperature—a crucial pause that protects the SCOBY from heat shock.
- 3. Once the tea has reached roughly 68‑78 °F (20‑26 °C), I pour it into the glass jar, add the starter kombucha, and gently place the SCOBY on the surface. I cover the jar with the cloth, securing it with the rubber band, and whisper a quiet intention for the brew to thrive.
- 4. I set the jar in a dark, well‑ventilated corner, away from direct sunlight, and let it ferment undisturbed for 7‑14 days. Each day, I peek through the cloth, noting the developing layer of yeast and the subtle shift in aroma—from sweet tea to a faintly vinegary perfume.
- 5. Around the tenth day, I embark on a tasting ritual: a small sip from the edge of the jar. If the flavor balances tangy and sweet to my liking, I move on; if it feels too sharp, I grant it a few more days, trusting the living culture to find its own rhythm.
- 6. When the brew reaches my desired profile, I transfer the kombucha into sealed bottles, leaving about an inch of headspace. I may add fresh fruit, herbs, or spices for a second fermentation, then let the bottles sit at room temperature for 2‑5 days to develop a gentle fizz before refrigerating.
Diy Kombucha Fermentation a Global Citizens Journey
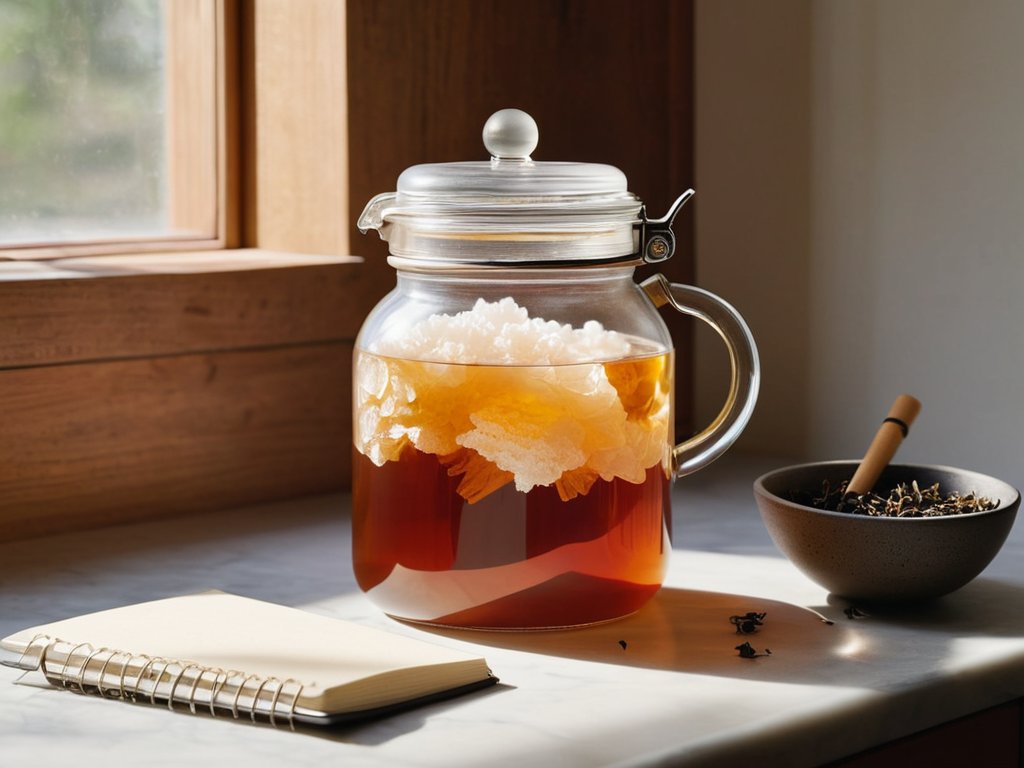
When I first set out how to brew kombucha at home, the most surprising lesson came from the kitchen thermostat rather than the tea kettle. Temperature control for kombucha fermentation is the silent architect of flavor; a steady 24‑27 °C (75‑80 °F) encourages a vigorous SCOBY while preventing the sluggish, sour notes that appear when the air is too cool. I’ve learned to pair this with a well‑balanced sweet tea base for kombucha—using filtered water, a generous handful of loose black tea, and exactly 8 % sugar by weight—so the microbes have the energy they need before they start turning caffeine into tangy acidity. A quick tip from my kombucha SCOBY starter tips notebook: give the new culture a three‑day head start in a small jar before moving it to the main vessel; the extra time lets the cellulose layer thicken, making it more resilient to temperature swings.
Once the primary fermentation settles, the adventure shifts to the bottle. Flavoring kombucha after fermentation feels like a miniature diplomatic negotiation: you’re balancing the existing tartness with the cultural nuance of your chosen add‑ins, whether it’s ginger from Sri Lanka or hibiscus petals from Mexico. I swear by a two‑day kombucha bottling and carbonation guide that calls for a half‑cup of fruit puree per quart, then sealing the jars tightly and storing them in a dark corner at 20 °C (68 °F) to let natural carbonation bloom. If a fuzzy veil ever appears, remember the troubleshooting kombucha mold mantra—discard the batch, sterilize everything, and start anew with a fresh SCOBY; the mold is a reminder that patience and hygiene are as diplomatic as any treaty.
How to Brew Kombucha at Home With Confidence
When I first set up a kitchen lab in a mud‑brick house on the outskirts of Oaxaca, the biggest hurdle wasn’t the tea or sugar—it was learning to trust a culture that had crossed continents before reaching my jar. I treat the vessel like a diplomatic briefing: a rinse, a splash of white vinegar, then a hot‑water rinse. This ritual tells the SCOBY the environment is safe and respected.
After the sweet tea cools, I pour it over the gelatinous mother and drape a breathable cloth over the mouth—a border crossing. I watch the surface ripple, recalling the vintage globes on my shelves, each line a reminder that fermentation is a conversation. When, after 7‑10 days, an aroma, a gentle tartness, and a thin new SCOBY appear, I know the brew is ready to travel beyond my kitchen, confident and clear.
Scoby Starter Tips Sweet Tea Base Temperature Control Flavoring Mold Troubl
When I first received my SCOBY from a friend in Oaxaca, I learned that a thriving starter is more than a gelatinous disc—it’s a living community. I add a cup of starter liquid from a previous batch and let it rest 24 hours at temperature. For the sweet tea, I use 5‑6 g of loose‑leaf black tea and 70 g of cane sugar per litre; the sugar feeds the microbes, the tea gives the SCOBY its firm texture.
Keep brew between 22‑28 °C (72‑82 °F) and shield it from drafts; temperature is the negotiator that can make or break a batch. During second‑ferment I love adding ginger, hibiscus petals or a splash of mango juice, then sealing the bottles for 2‑5 days to coax carbonation. If you see fuzzy green or black spots, it’s mold—discard everything and start fresh with a clean jar and breathable cloth.
Key Takeaways for Your Kombucha Adventure
Treat the SCOBY like a delicate guest—keep it clean, well‑fed, and away from direct sunlight to ensure a healthy fermentation.
Maintain a stable room temperature (24‑28 °C/75‑82 °F) and stick to the 1 cup sugar‑per‑liter tea ratio; these two variables shape the brew’s flavor and safety.
Experiment with second‑ferment flavors and carbonation, but always burp bottles and watch for excess pressure to keep your bottles safe and your palate delighted.
Fermenting Connections Across Borders
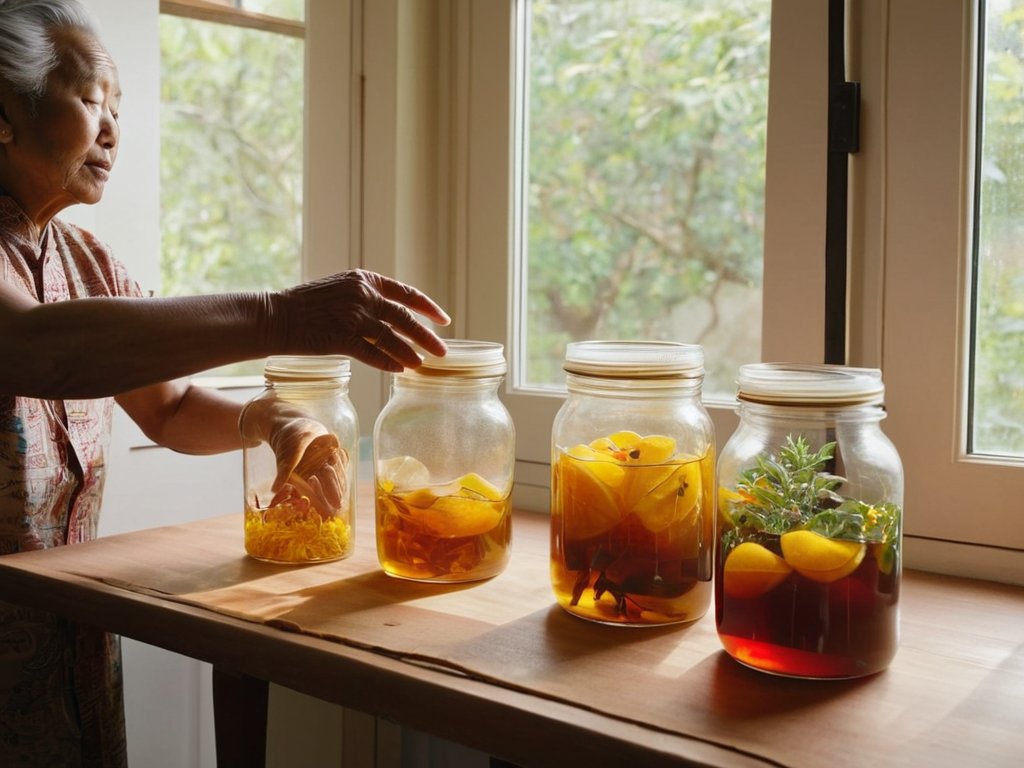
Brewing kombucha at home is more than a probiotic habit; it’s a quiet diplomacy—each bubble carries a story of tea gardens in Assam, sugarcane fields in Cuba, and the shared desire to nurture both body and community.
Alexandra Thompson
Conclusion
From the moment you steep the tea to the gentle lift of a healthy SCOBY starter, the guide has walked you through the essential pillars of home kombucha. We reviewed how to craft a balanced sweet tea base, why temperature control between 24‑30 °C is the sweet spot for fermentation, and the art of timing secondary flavors without compromising clarity. You learned to spot the tell‑tale signs of mold, to intervene with proper sanitation, and to coax natural carbonation through a patient second ferment. A clear, airtight cover and a quiet corner complete the setup for fermentation. With these tools in hand, confidence replaces uncertainty, and each batch becomes a small laboratory of taste, science, and tradition.
As a global citizen who has swapped stories over tea in Delhi, Nairobi, and a remote Icelandic farm, I find that brewing kombucha is more than a kitchen experiment; it is a portable dialogue between cultures, microbes, and memory. Each bubble carries a whisper of the centuries‑old tea traditions that travel across borders, inviting you to share a glass with friends, neighbors, or strangers you meet on the road. Let your next batch be a reminder that small, intentional actions can ripple outward, turning your kitchen into a crossroads of shared stories and sustainable taste. Cheers to curiosity, community, and the endless ferment of possibility.
Frequently Asked Questions
Can I use alternative sweeteners instead of white sugar without harming the SCOBY?
I’ve tried a few sweet‑swap experiments, and the short answer is: you can, but tread lightly. The SCOBY thrives on the simple, readily‑fermentable glucose in white cane sugar; honey, coconut sugar or agave will feed it, yet they also introduce extra minerals, enzymes or even wild microbes that can slow the starter or shift the flavor. I recommend a 10‑percent substitution in a test batch, watch the film closely, and if it stays healthy, gradually increase—never use artificial sweeteners, as they can starve the culture entirely.
How do I know when my kombucha has reached the perfect balance of sweetness and tanginess?
I trust my palate more than the clock. After about 5‑7 days at 24‑27 °C, I gently swirl the jar, dip a clean spoon, and take a tiny sip—straw or straw works best to avoid splashes. If you still taste the sugary tea, give it another day; if the vinegar‑sharp bite dominates, it’s over‑fermented. The sweet‑tangy sweet spot feels like a balanced tango: the underlying sweetness lingers just enough to soften the lively acidity, and the aroma is bright, slightly yeasty, with no off‑notes. When that dance feels right, you’ve reached perfection.
What is the best method to store a SCOBY between batches to keep it healthy?
I keep my SCOBY in what I call a “quiet‑zone” jar: a clean, wide‑mouth glass container filled with a fresh 1:1 mixture of brewed sweet tea and a splash of the previous batch’s starter liquid. Seal it with a breathable cloth‑covered lid, store it in a dark cabinet or pantry at 68‑78 °F, and change the tea every 4–6 weeks. This low‑stress environment preserves the microbial balance, keeps mold at bay, and ensures the culture stays lively for the next brew.